Anúncios
The first balcony garden I tried to start was on the fourth floor of a building in a city where the wind apparently had a personal grudge against me. I bought six small herb plants, two pretty pots, and a small bag of soil from the corner shop. Within ten days, two of the plants had been tipped over by wind, one had been baked by a stronger sun than I expected, and the rest had drowned because the pots had no drainage.
It was a mess. It was also when I learned that balconies aren’t just “small gardens” – they’re a separate growing environment with their own rules. Wind matters more than you think. Pots dry faster than you think. The sun behaves differently up there. Your neighbour’s air conditioning unit can ruin everything.
Anúncios
This guide is the plan I wish I’d had on day one. It assumes nothing – no tools, no experience, no fancy setup. By the end you should have a clear sense of what to do this weekend, what to buy, and which plants will actually survive your specific balcony.
Step 1: Figure out which direction your balcony faces

This is the single most useful piece of information about your space, and most beginners don’t know it. Sun direction determines which plants will thrive and which will die slowly.
Easy way to find out: open a compass app on your phone, stand on your balcony, and point the phone outward (away from the building). The direction the phone shows is the direction your balcony faces.
Anúncios
| Direction | What it means | Good for |
|---|---|---|
| South-facing | The most sun, especially midday – can get hot | Tomatoes, peppers, herbs, sun-loving flowers |
| West-facing | Strong afternoon sun, less morning sun | Most herbs, leafy greens (with shade in summer) |
| East-facing | Gentle morning sun, cooler afternoons | Lettuce, basil, herbs, partial-shade flowers |
| North-facing | Little to no direct sun | Shade-tolerant plants – ferns, mint, lettuce |
South- and west-facing balconies are usually the most productive for vegetables and herbs. North-facing balconies aren’t a dead-end – they just call for different plants. I’ll come back to specific recommendations later.
Step 2: Take wind seriously
This is the surprise factor that catches almost everyone. Wind on a balcony, especially anywhere above the third or fourth floor, is much stronger than it is at street level. It does three things to plants:
- Dries out pots fast. A plant that needs water every 4 days in a sheltered garden may need it every 1–2 days on a windy balcony.
- Knocks over tall, top-heavy plants – especially in lightweight plastic pots.
- Damages leaves. Constant flapping shreds tender herbs and leafy greens. Basil hates wind. Lettuce hates wind. Most flowers hate wind.
Three practical fixes:
- Heavy pots near the railing, light pots tucked against the wall.
- Group plants together. A cluster of pots shelters each other.
- Add a windbreak. Bamboo screens, balcony mesh, even a row of taller hardy plants (like rosemary or lavender) on the windward side dramatically reduces wind damage. Just check your building rules first – some condos restrict railing attachments.
Step 3: Check the weight limit
This sounds dramatic but matters: full pots are heavy. A 12-inch terracotta pot with wet soil and a plant can weigh 30 pounds (14 kg). A large self-watering planter can weigh much more. If your balcony is small, that adds up fast.
Most modern balconies can hold what a normal person would expect – call it “a few hundred pounds of pots and one person standing among them, no problem.” But it’s worth checking your lease or condo documents if you’re planning anything bigger than ten small pots. As a sanity check: if your balcony is concrete and feels solid when you jump on it, you have margin to work with.
Lightweight options when weight matters: fabric grow bags, plastic resin pots, and self-watering planters with lightweight potting mix.
Step 4: Buy the right kind of pots
The most common beginner mistake is buying a beautiful pot with no drainage hole. Roots that sit in water rot, the plant droops, you assume it needs more water, you add more, the rot accelerates, and the plant dies. This is the same cycle that ruined my second balcony attempt.
Three rules for balcony pots:
- Always drainage holes. Always.
- Plastic or fabric over terracotta if you have full sun. Terracotta is gorgeous but porous – in hot, windy conditions it dries the soil incredibly fast, which means you’ll be watering twice a day in summer. Plastic and fabric retain moisture longer.
- At least 8–10 inches deep for most herbs and leafy greens. Bigger for tomatoes and peppers (12+ inches). Tiny “kitchen herb” pots from supermarkets are too small for any plant to thrive in long-term.
For more on this, our guide to potting soil vs garden soil covers what actually goes inside the pot – which matters as much as the pot itself.
Step 5: Get the soil right
Two things to remember.
First: never use soil from the ground. Garden soil is too dense for containers – it compacts, drains poorly, and suffocates roots. Use bagged potting mix. Any general-purpose potting mix from a hardware store is fine to start.
Second: fill the pot all the way. A lot of beginners use half-filled pots because the soil bag was small, then wonder why the plant struggles. Plants need room for roots to spread. Fill to about an inch below the rim.
Step 6: Pick the right first plants
Here’s the table that should save you a season of trial and error.
| Your balcony | Easiest plants to start with |
|---|---|
| Sunny (south/west), windy | Rosemary, thyme, oregano, marigolds, cherry tomatoes |
| Sunny, sheltered | Basil, peppers, lettuce, tomatoes, strawberries |
| Partial sun (east-facing) | Lettuce, basil, mint, parsley, marigolds, pansies |
| Mostly shaded (north-facing) | Mint, parsley, lettuce, ferns, ivy, impatiens |
For a deeper dive into specific beginner-proof plants – the ones that survive almost any first-timer mistake – see our guide to the 7 easiest plants for absolute beginners.
Step 7: Water correctly (this is where most balcony plants die)
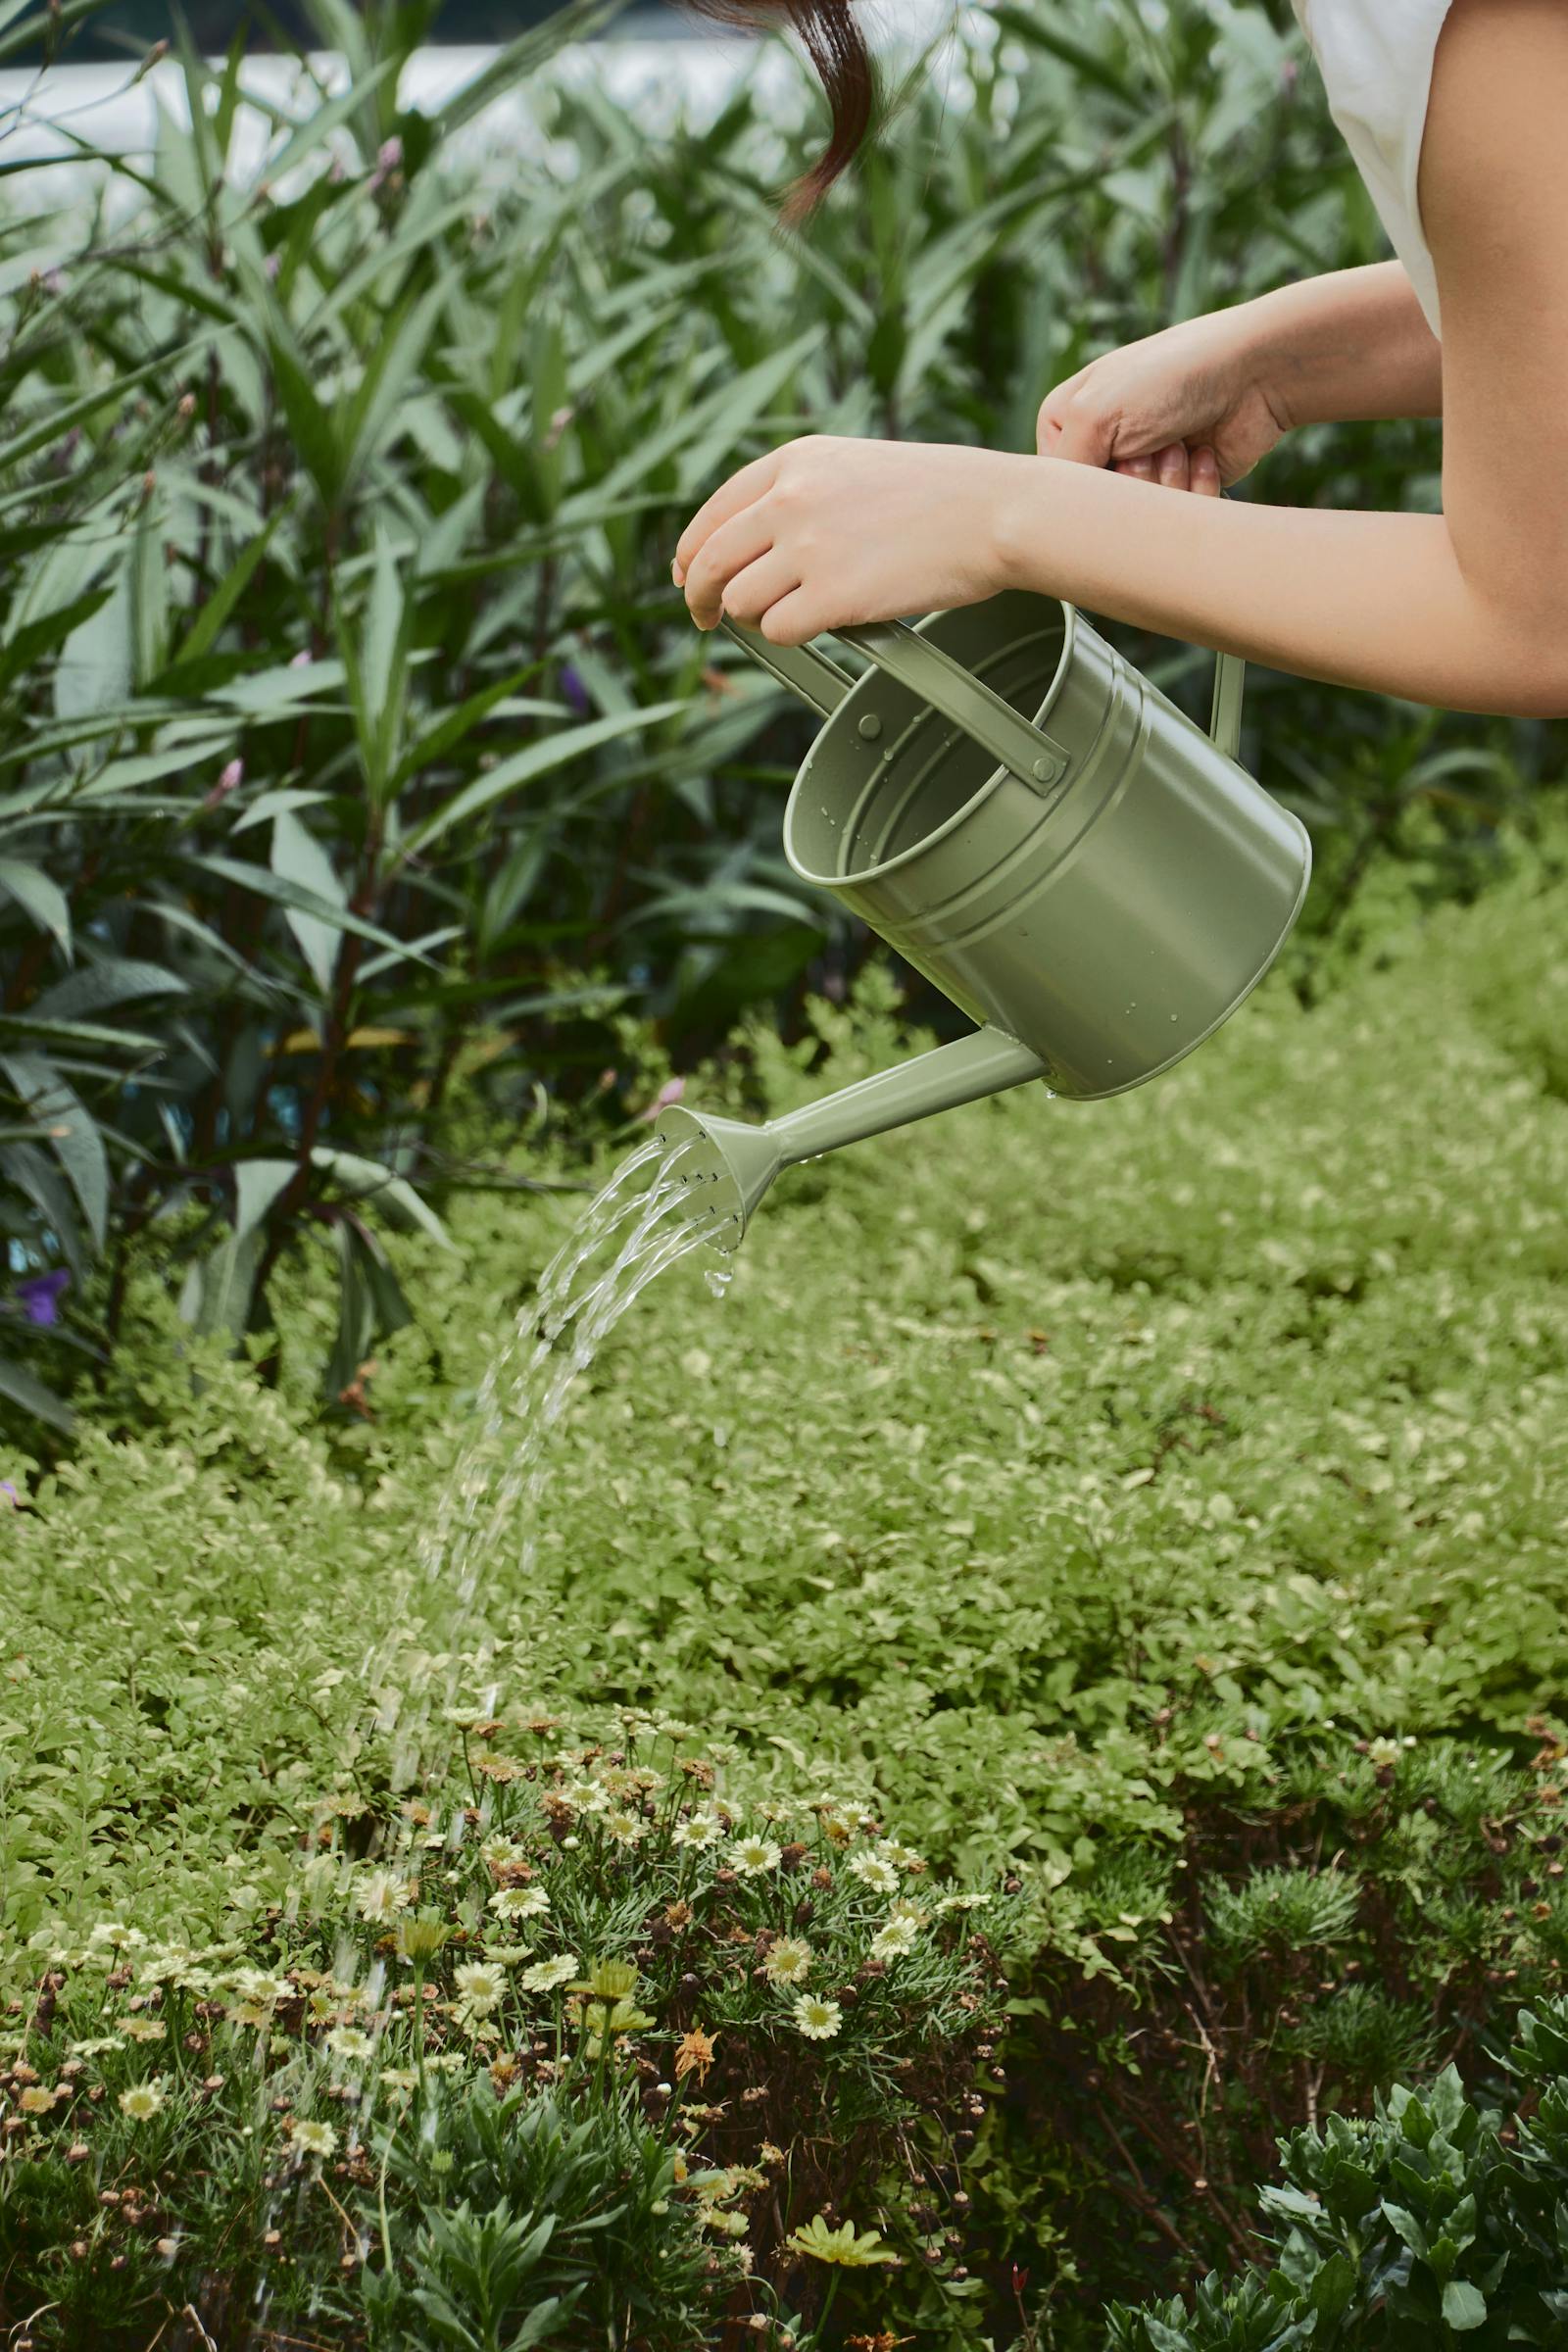
Balcony plants in pots dry out much faster than the same plants in the ground. In summer, on a sunny, windy balcony, you may water once or even twice a day. In cool, cloudy weather, maybe every 3–4 days. There is no fixed schedule – only the soil knows.
The check: push your finger 1–2 inches into the soil. If it feels dry, water. If it feels damp, wait. When you water, water thoroughly – until water runs out the drainage holes. Shallow watering encourages shallow roots, which dry out even faster.
One small habit that prevents a huge amount of summer plant death: water in the early morning, not the evening. Morning watering gives the plant a full day to use the moisture; evening watering can leave leaves wet overnight, which encourages mildew.
Step 8: Manage the small stuff
A few things that aren’t dramatic but quietly determine whether your balcony garden thrives or struggles:
- Fertilize lightly during the growing season. Container plants run out of nutrients faster than in-ground plants because there’s only a few litres of soil. A diluted liquid fertilizer every 2–3 weeks during spring/summer is plenty. Don’t overdo it – too much fertilizer burns roots.
- Pinch herbs back regularly. Cutting basil, mint, and other leafy herbs encourages bushier growth. Don’t be precious about harvesting.
- Deadhead flowers. Pinch off spent blooms on marigolds, petunias, and others to keep new flowers coming.
- Watch for pests. Aphids on new shoots, spider mites in dry conditions, gnats hovering near soil – catch them early. A gentle spray of water or a few drops of dish soap in water knocks most pests off without chemicals.
Step 9: A sample setup
Here’s what a realistic first balcony garden could look like – small, manageable, productive:
- One 10-inch pot with a cherry tomato plant (if sunny) or a mint plant (if shadier).
- Two 8-inch pots with basil, rosemary, or thyme.
- One window box (or 12-inch shallow pot) with mixed lettuce.
- One small pot of marigolds – for colour and as a mild pest deterrent.
That’s it. Five containers, three to five plants, harvestable food and flowers, and enough to keep you genuinely engaged without it feeling like a second job.
What about renting?
You can absolutely build a balcony garden in a rental. The trick is to avoid anything that requires drilling, permanently attaching, or modifying the balcony structure. Use:
- Free-standing pot stands
- Railing planters that clip on (no drilling)
- Tiered plant shelves that just stand against a wall
- Self-watering containers if you travel often
Everything packs into a car when you move. None of it puts your damage deposit at risk.
The bottom line
Balcony gardening is genuinely doable, even on a small, windy fourth-floor space. The shortlist of what actually matters:
- Figure out your sun direction and watch the actual sun pattern.
- Take wind seriously – heavy pots, grouped together, sheltered if possible.
- Pots must have drainage holes. Not optional.
- Use bagged potting mix, never garden soil.
- Pick three or four plants matched to your conditions, not your aesthetic Pinterest board.
- Water by checking the soil, not the calendar.
Once you’ve kept a balcony garden alive for one season – even a small one – almost any other kind of gardening will feel easier. Balconies are a tough school. The plants that survive yours will survive anywhere.
If you’re still figuring out indoor light first, or you want to start somewhere lower-stakes, the best low-light indoor plants guide is a softer landing. And once you’ve got a few plants going, our breakdown of the 15 most common beginner mistakes is the troubleshooting cheat sheet for everything that goes wrong in the first year.
See also: the full list of plants for sunny balconies.