Anúncios
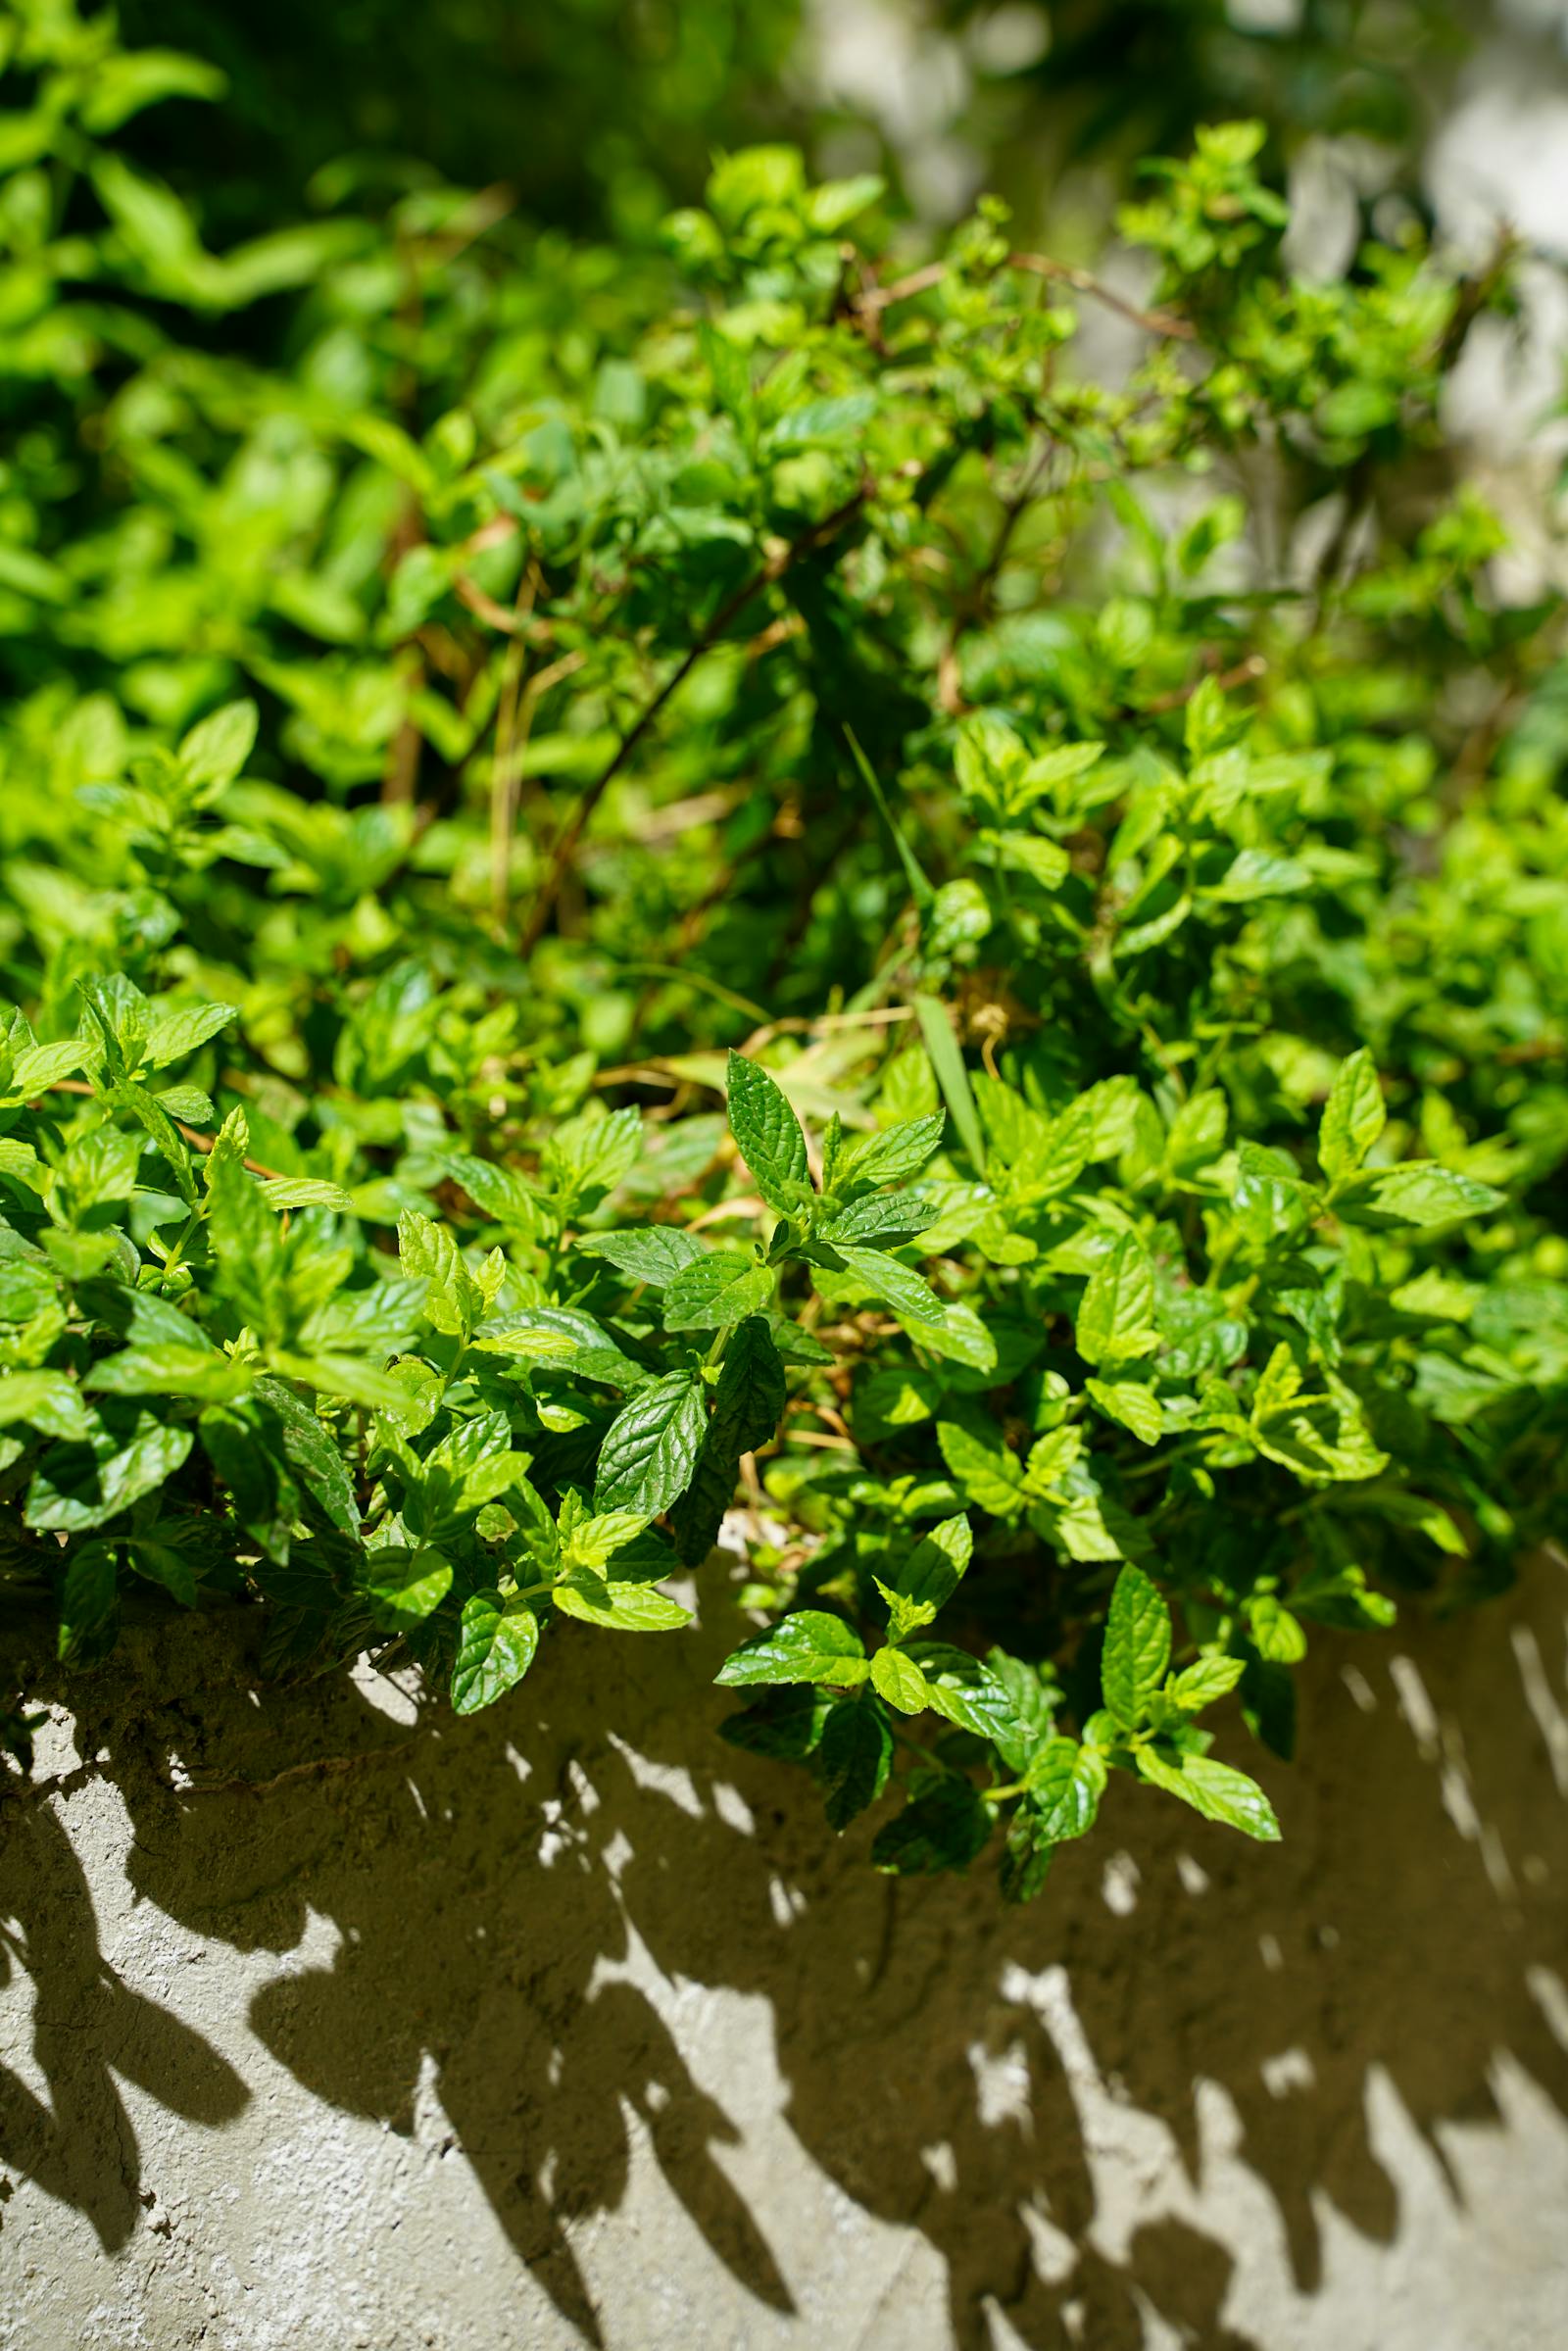
If you plant mint in the ground in your garden, you will be growing mint there for the rest of your life. Possibly the rest of your children’s lives. There are stories of new homeowners discovering an “abandoned” mint patch that turns out to have spread thirty feet underground over two decades. Mint is not a houseplant; it is a polite-looking herb with the propagation strategy of a weed.
This is, weirdly, also why mint is one of the best plants for beginners. It is almost impossible to kill, grows comically fast, tolerates shade and sun, doesn’t mind irregular watering, and gives you more leaves than you can use within weeks. You just have to contain it.
Anúncios
Step 1: Plant it in its own pot
This is the only rule of mint cultivation that actually matters. Mint grows by sending out runners just below the soil surface, which then send up new shoots a foot away from the original plant. In a few months, a small mint plant becomes a patch. In a year, the patch is everywhere.
In a pot, the runners hit the wall and stop. The plant stays where you put it.
Pot size: at least 6 inches across and deep. Mint will fill any size pot eventually – bigger pots just mean bigger plants. For a balcony, an 8-inch pot is a good starter.
Anúncios
Drainage holes: required. Mint tolerates moisture but not soggy roots.
Soil: any standard potting mix. Mint isn’t fussy.
Step 2: Pick where to put it
Mint tolerates a wider range of conditions than almost any other culinary herb.
- Sun: 4-6 hours is ideal. Tolerates partial shade. Even gets by with 2-3 hours of morning sun.
- Temperature: hardy. Survives mild frost, sometimes severe frost. Comes back from underground roots even after a hard winter.
- Wind: handles it fine.
- Indoor: mint can be grown indoors on a sunny windowsill, but it stays smaller and less vigorous than outdoor mint. A grow light helps.
For more on figuring out your space, our guide to plant sunlight needs covers what each direction provides.
Step 3: Buy a plant (don’t bother with seeds)
Mint can be grown from seed but it’s slow and unreliable, and the resulting plants are often inconsistent. Almost every gardener I know buys a starter plant from a garden centre or grocery store and never looks back.
Better still: ask anyone you know who already grows mint. They’ll happily give you a cutting. Mint roots from cuttings in water within a week or two and you’ll have a fully grown plant for free.
Common varieties:
- Spearmint: the classic culinary mint. Tea, salads, lamb, mojitos.
- Peppermint: stronger, more menthol-forward. Less common in cooking, great in tea.
- Chocolate mint: a real variety, with a hint of chocolate. Lovely in desserts.
- Apple mint, pineapple mint: fruit-flavoured variants, more decorative than culinary.
- Moroccan mint: the classic mint for North African tea.
Step 4: Water reasonably
Mint likes consistent moisture but not constant wet. The rule: water when the top inch of soil is dry. In summer that may be every 2-4 days; in cooler weather every 5-7 days.
The visible signal: mint droops dramatically when very thirsty, and perks back up within hours of watering. Don’t panic if you see a sad-looking mint plant – it bounces back faster than almost any other herb.
For more on watering rules across plants, see our how often to water plants guide.
Step 5: Harvest aggressively
The most important habit for a productive mint plant. Cut more than you think you should.
Snip stems just above a leaf node with kitchen scissors. The plant responds by branching from below the cut, becoming bushier. A plant that’s been harvested regularly produces three times the leaves of one that’s left to grow.
Even if you don’t need mint today, give it a haircut every couple of weeks. The plant stays compact and productive instead of growing tall and lanky.
Step 6: Pinch off flower buds
If you see flower spikes forming at the top of the stems, pinch them off immediately. Once mint flowers, leaves become bitter and growth slows. Removing flower buds keeps the plant focused on leaves.
You can also just cut the plant back hard – by half its height – in midsummer. It looks bare for a week, then bounces back with fresh, intensely-flavoured young growth.
Step 7: Watch for spreading (even in pots)
Mint in a pot still tries to escape. Look out for:
- Roots emerging from drainage holes and rooting into the soil below the pot.
- Stems lying across the pot edge and rooting where they touch soil or another pot.
- Runners spreading horizontally above the soil in the pot, then arching out into neighbouring containers.
Periodically lift the pot, snip any escaping roots, and don’t let the mint touch other pots’ soil.
Storing and using the harvest
Fresh mint is excellent and lasts about a week in the fridge wrapped in a slightly damp paper towel. For longer storage:
- Freeze: chop leaves, mix with a little water in ice cube trays. Pop a cube into cocktails or cooking.
- Dry: hang small bundles of stems upside-down in a dry, dark spot for 1-2 weeks. Crumble into jars for tea. Dried mint loses some intensity but keeps for a year.
- Make mint syrup: equal parts sugar and water, simmer with a handful of leaves, strain, refrigerate. Lasts a month in the fridge, great in cold drinks.
Common problems
| What you see | Cause | Fix |
|---|---|---|
| Yellowing lower leaves | Overwatering or pot too small | Let soil dry between waterings; repot to a slightly larger container |
| Leggy, tall, sparse | Not enough light, no pruning | Brighter spot; cut back hard to encourage bushy regrowth |
| Brown crispy spots on leaves | Sun scorch or fungal disease | Move to partial shade; remove affected leaves |
| Orange or rust-coloured spots on leaves | Mint rust (fungal) | Remove affected leaves, improve air circulation; severe cases – dig up and start fresh |
| Flowers appearing | Plant going to seed | Pinch off flower buds, harvest more aggressively |
| Plant taking over | You planted it in the ground or it escaped its pot | Move to a contained pot; trim escaping runners |
Mint rust (the one disease worth knowing)
Mint rust is a fungal infection that causes orange or rust-coloured spots on the undersides of leaves. It’s not common in healthy pot-grown mint but can occur with poor air circulation. Affected plants are usually best dug up and replaced – the spores survive in soil and reinfect new plants.
Prevention: don’t crowd plants together, water at soil level (not on leaves), and give the plant good air movement.
Winter care
Mint is a perennial – it dies back in winter and returns from underground roots in spring. In milder climates, just leave the pot outside; new shoots emerge from the soil in spring.
In colder climates:
- Cut the plant back hard before the first frost.
- Move the pot to a sheltered spot (against a wall, in a garage or shed).
- Wrap the pot with bubble wrap or burlap for insulation if temperatures regularly drop below 20°F (-7°C).
- Don’t water in winter – the dormant plant doesn’t need it.
Mint grown indoors year-round on a windowsill skips dormancy entirely but tends to get spindly without enough light.
The short version
Mint is the perfect beginner herb if you respect one rule: keep it in its own pot. With that taken care of, it asks for almost nothing – basic potting mix, partial sun, water when dry, harvest often, pinch flowers – and gives back more than you can use. Two mint plants is enough to supply a family with tea, salads, cocktails, and fresh garnish all year.
If you want to extend your herb garden, our balcony herbs guide covers the other staples worth growing alongside mint. And for the wider list of beginner-proof plants, see 7 easiest plants for absolute beginners.