Anúncios
The first time I repotted a plant – a peace lily I had owned for about a year – I worked myself into mild dread. I read three articles and watched two videos. I bought a slightly bigger pot. I held the plant in my hand like a small child for ten minutes before committing. Three weeks later it was thriving in its new home, none the worse for the surgery, and I felt vaguely foolish for treating the operation as a high-stakes medical procedure.
Repotting is one of those gardening tasks that intimidates beginners and turns out to be straightforward. Here’s the entire process, slowly enough that you can do it for the first time without panicking.
Anúncios
When to repot
Don’t repot just because it feels like time. There needs to be a real reason. The signs:
- Roots growing out of the drainage holes.
- Roots circling visibly on the surface of the soil.
- The plant dries out within a day of watering (the roots have taken over the pot, leaving no soil to hold water).
- The plant looks top-heavy and keeps tipping over.
- Growth has slowed or stalled despite good care.
- You’ve had the plant 1-2+ years and never repotted.
None of these symptoms? Leave it alone. Repotting unnecessarily just stresses the plant.
When NOT to repot
- Right after buying a plant. Let it acclimate to your home for 2-4 weeks first, unless it’s clearly root-bound in a tiny nursery pot.
- Mid-winter. Most plants are dormant and recover slowly from disturbance. Wait for spring.
- While the plant is flowering. Wait until the bloom is done.
- While the plant is stressed (yellow leaves, recent move, disease). Stabilize first, then repot once it’s healthy.
The right time of year
Spring is repotting season. Days are getting longer, light is increasing, and most plants are entering their growing phase – which means they recover from disturbance fastest. Early summer is fine too.
Anúncios
Avoid repotting in the depths of winter unless the plant is in genuine distress. The cold, low light, and short days make root recovery sluggish.
What you’ll need
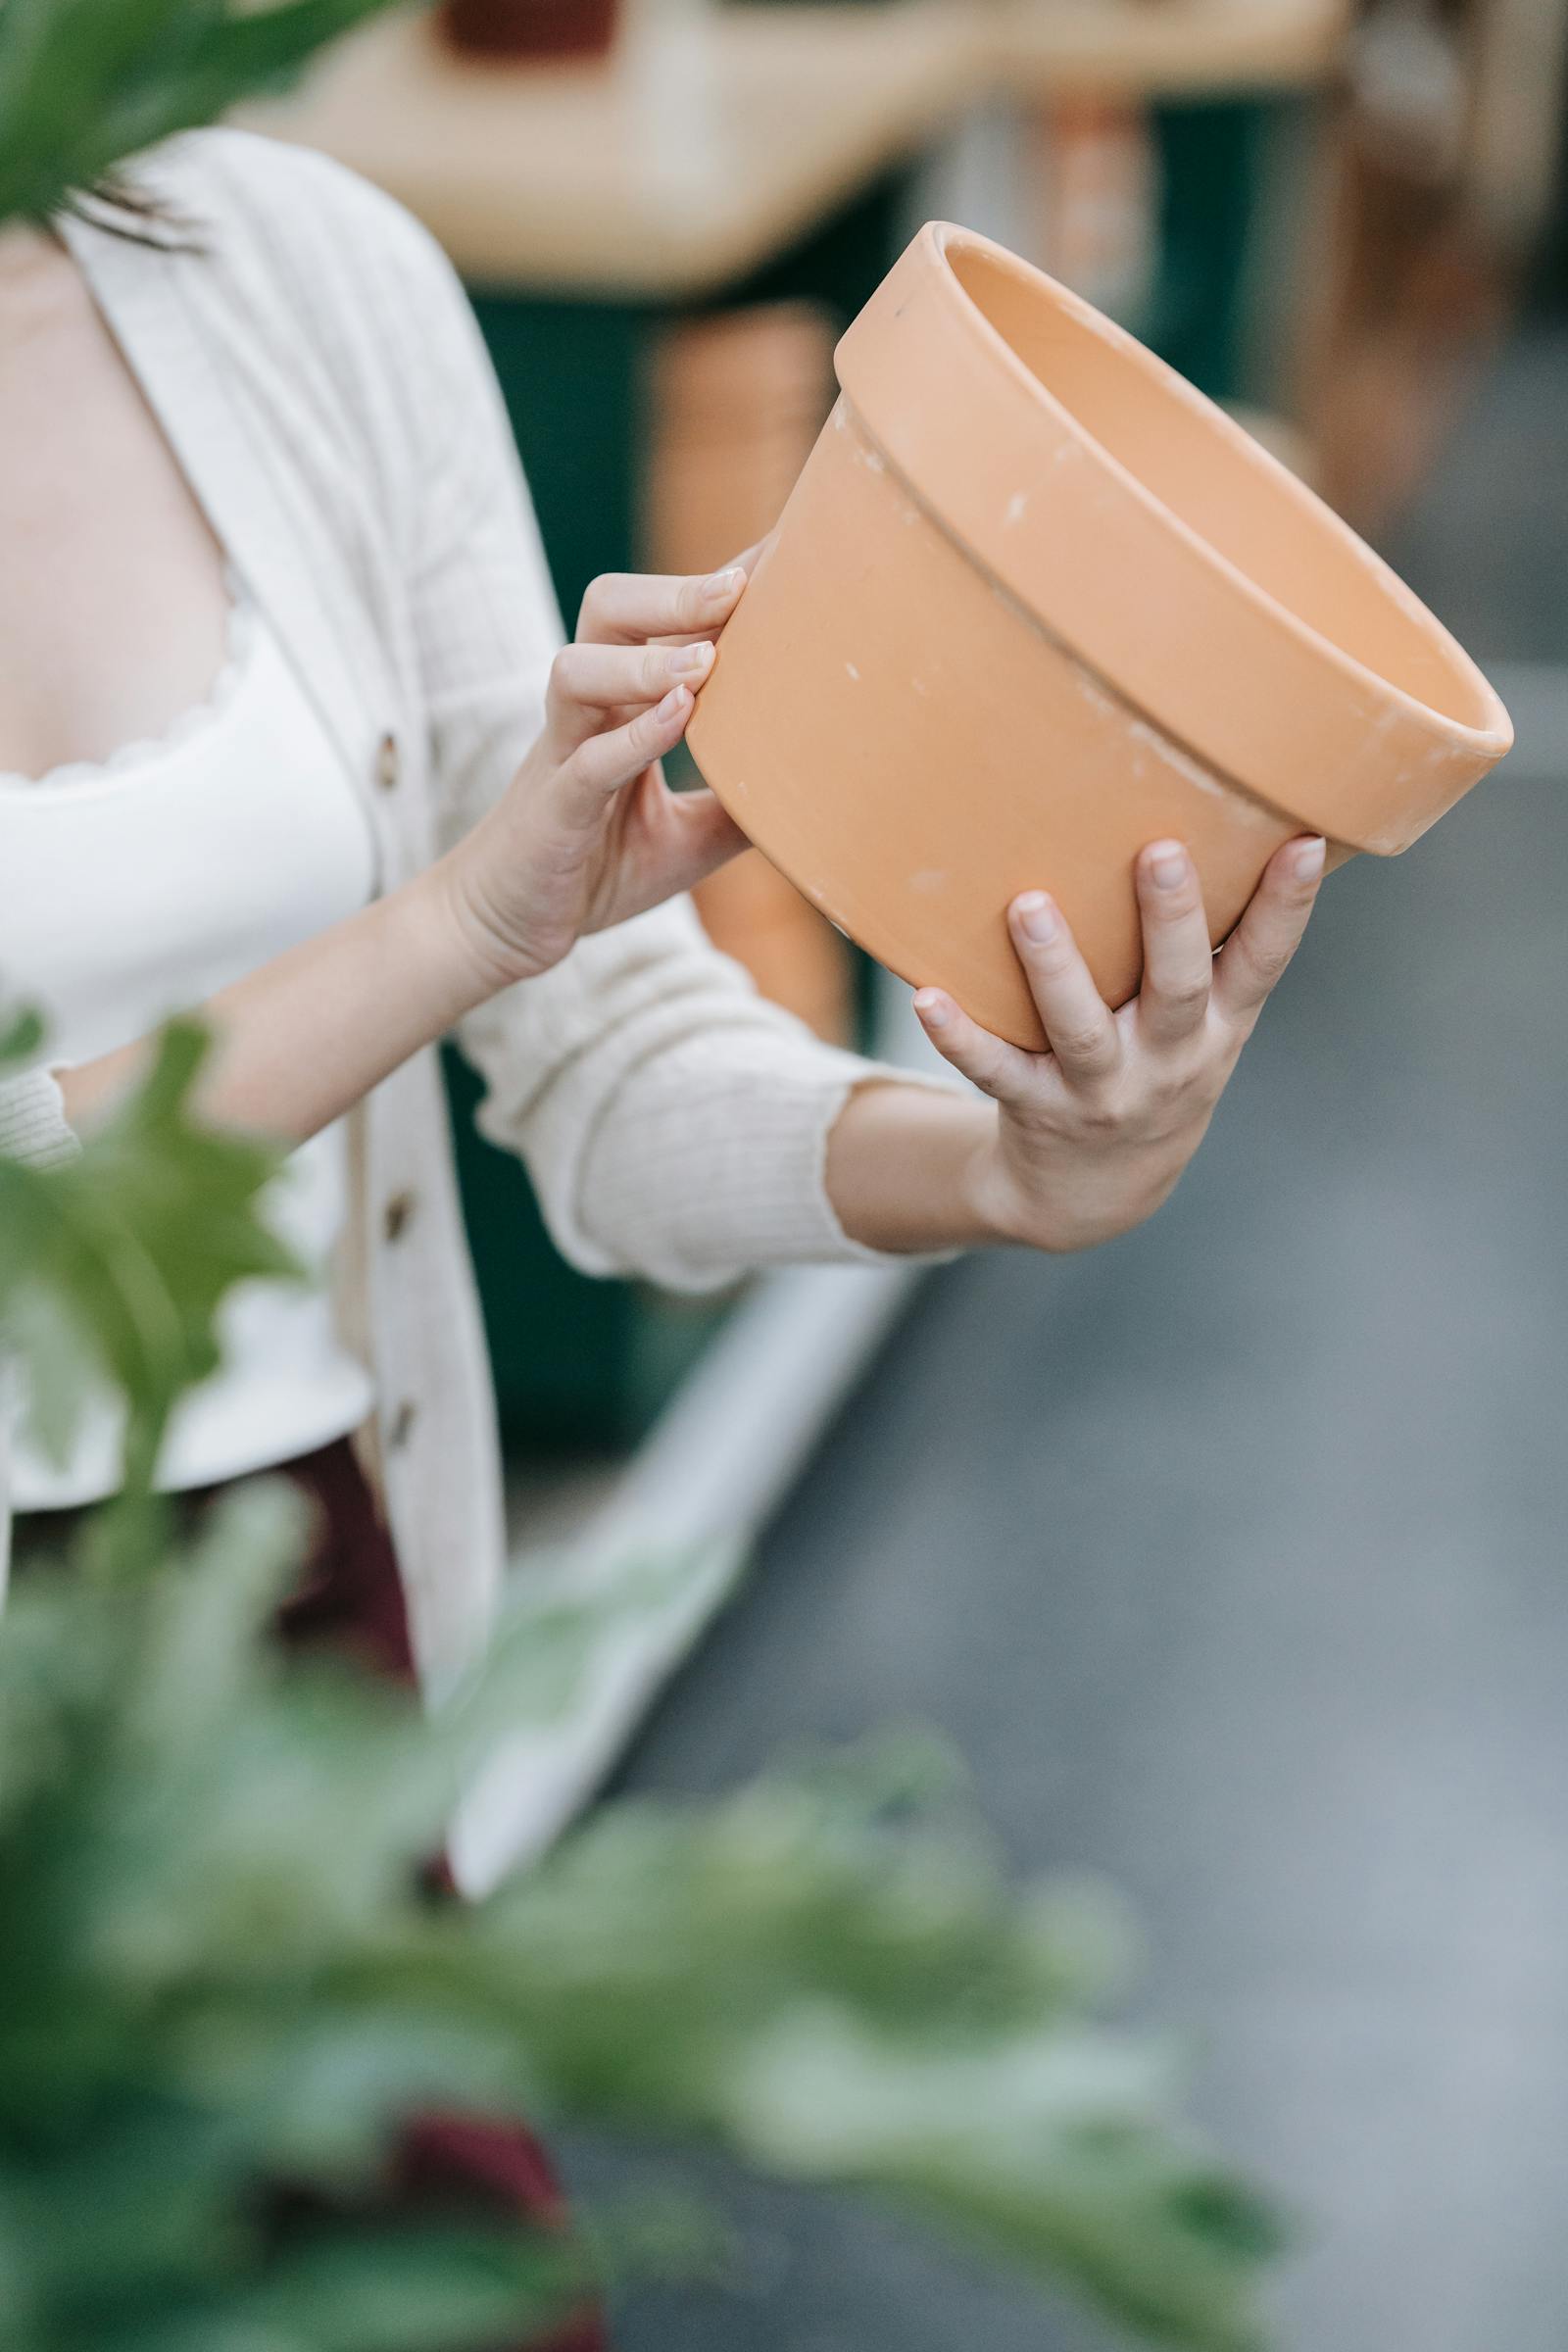
- A new pot, one or two inches larger in diameter than the current one. For more on sizing, see our pot size guide.
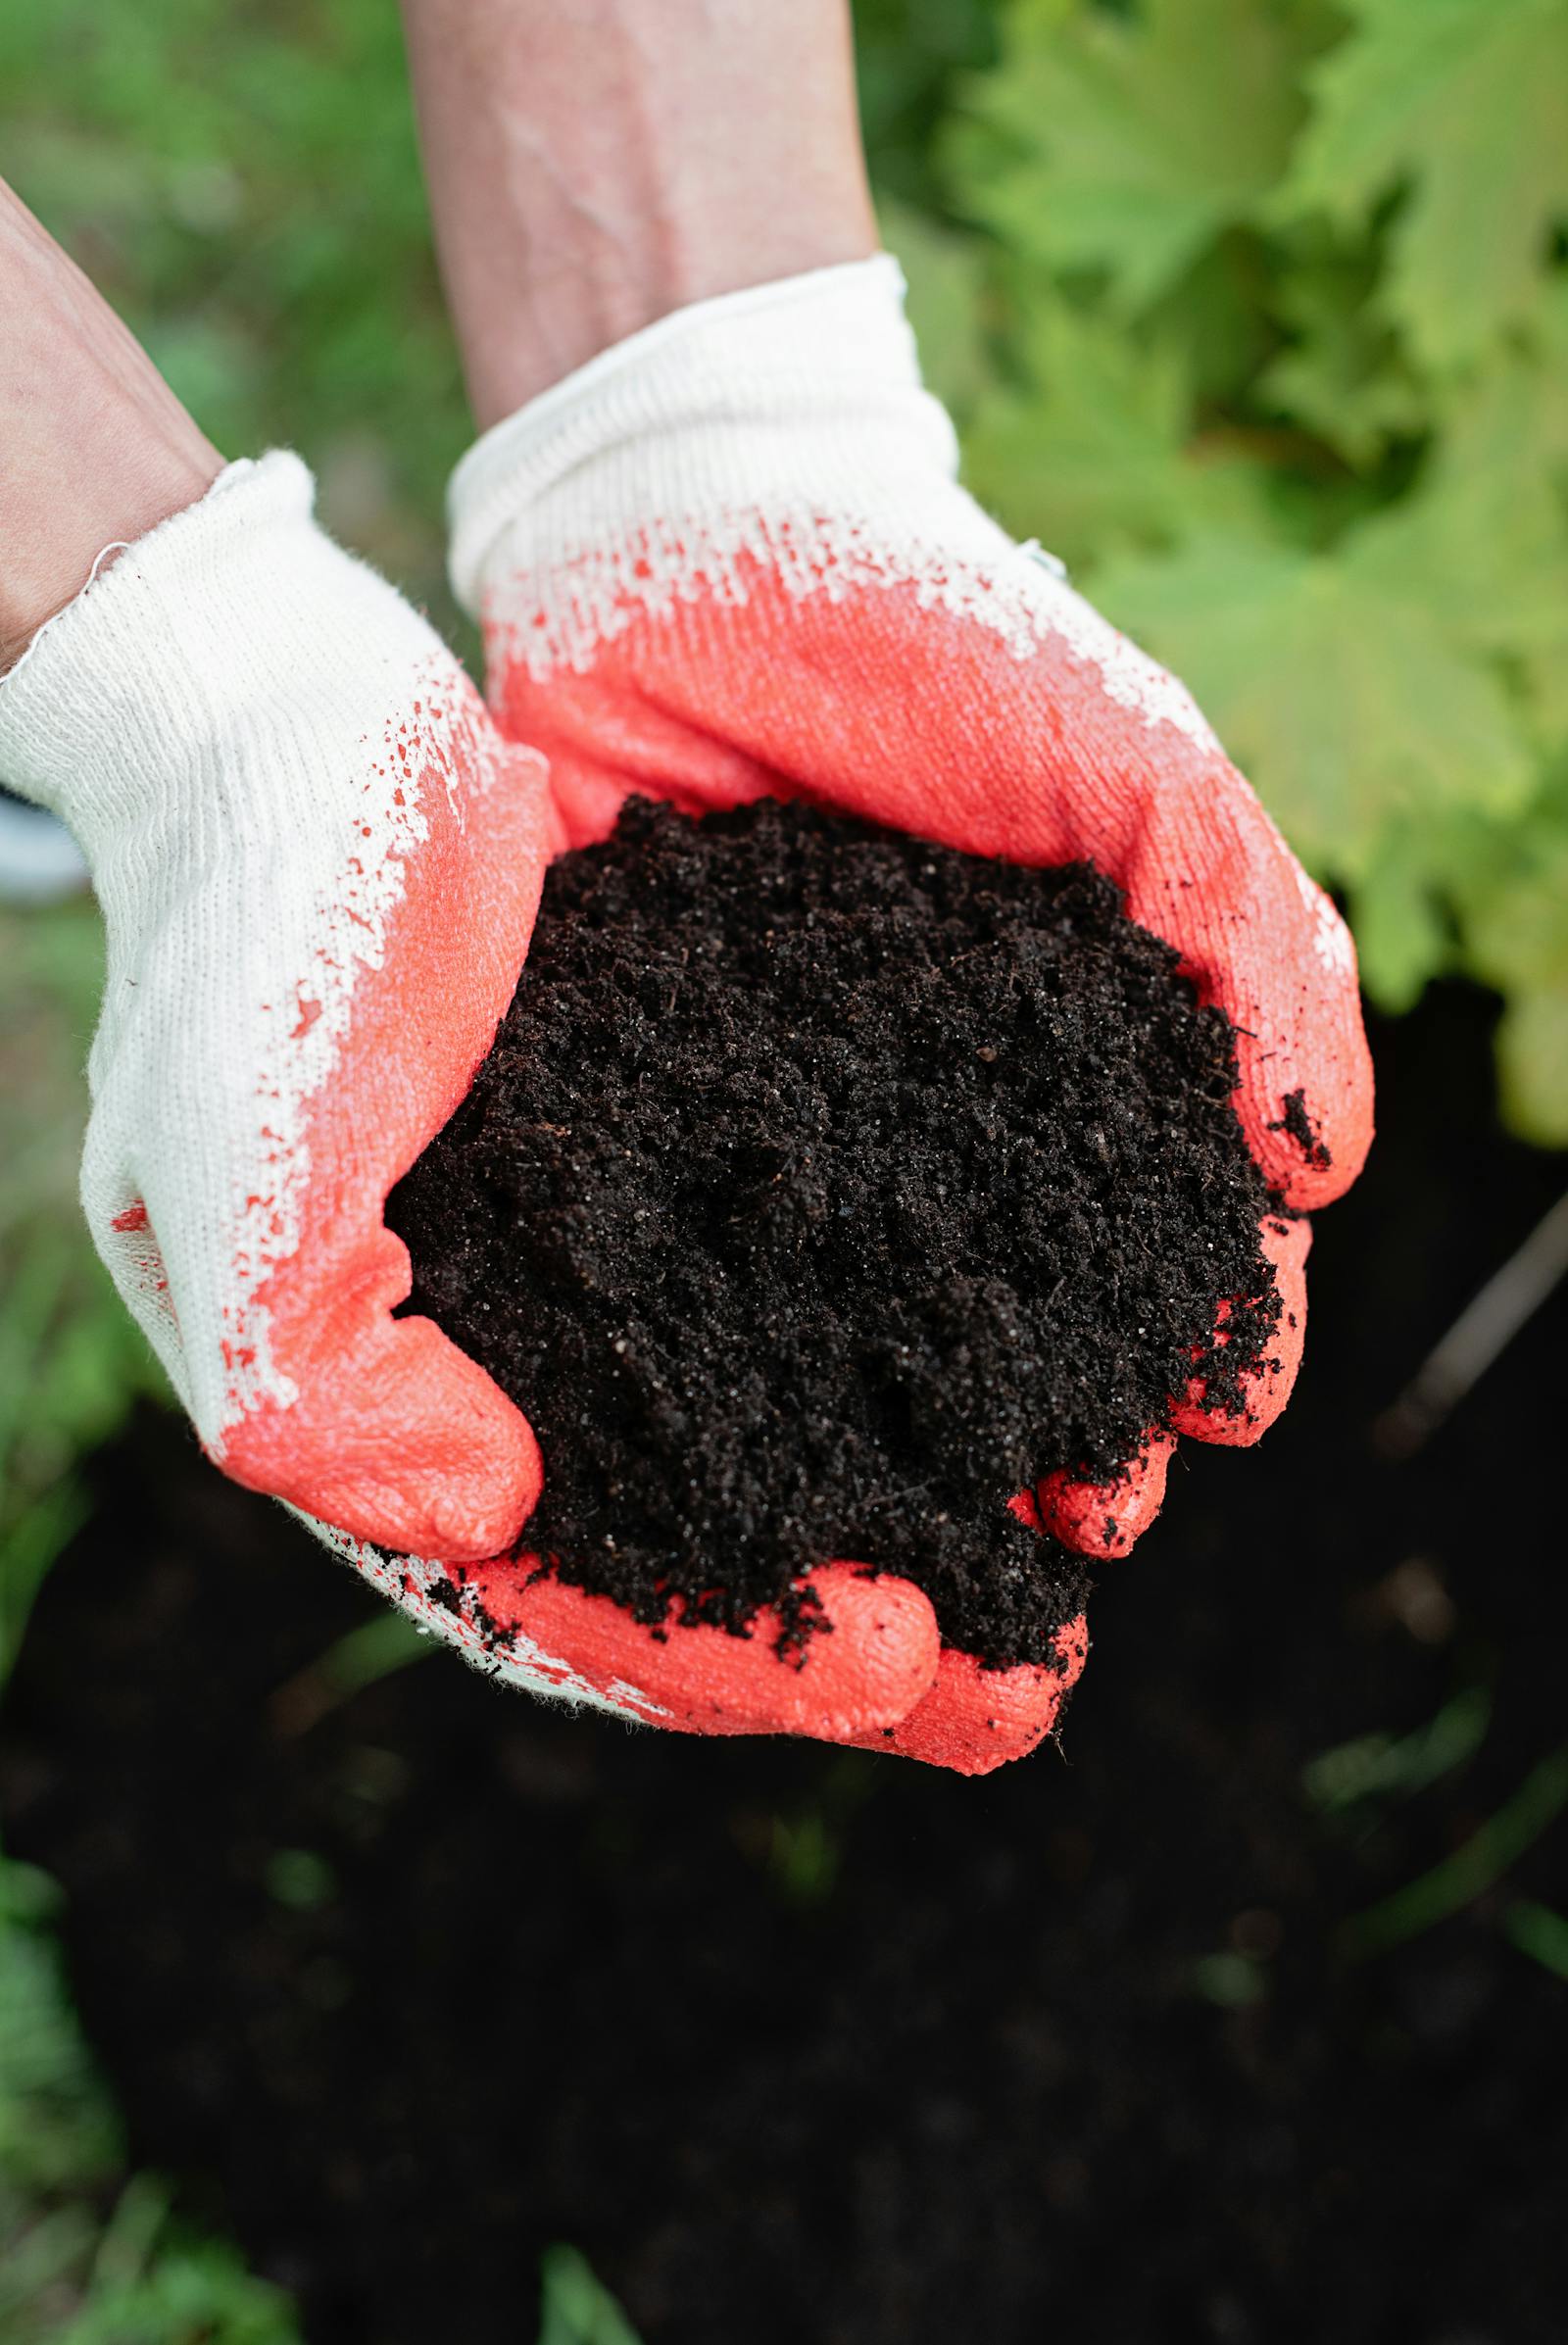
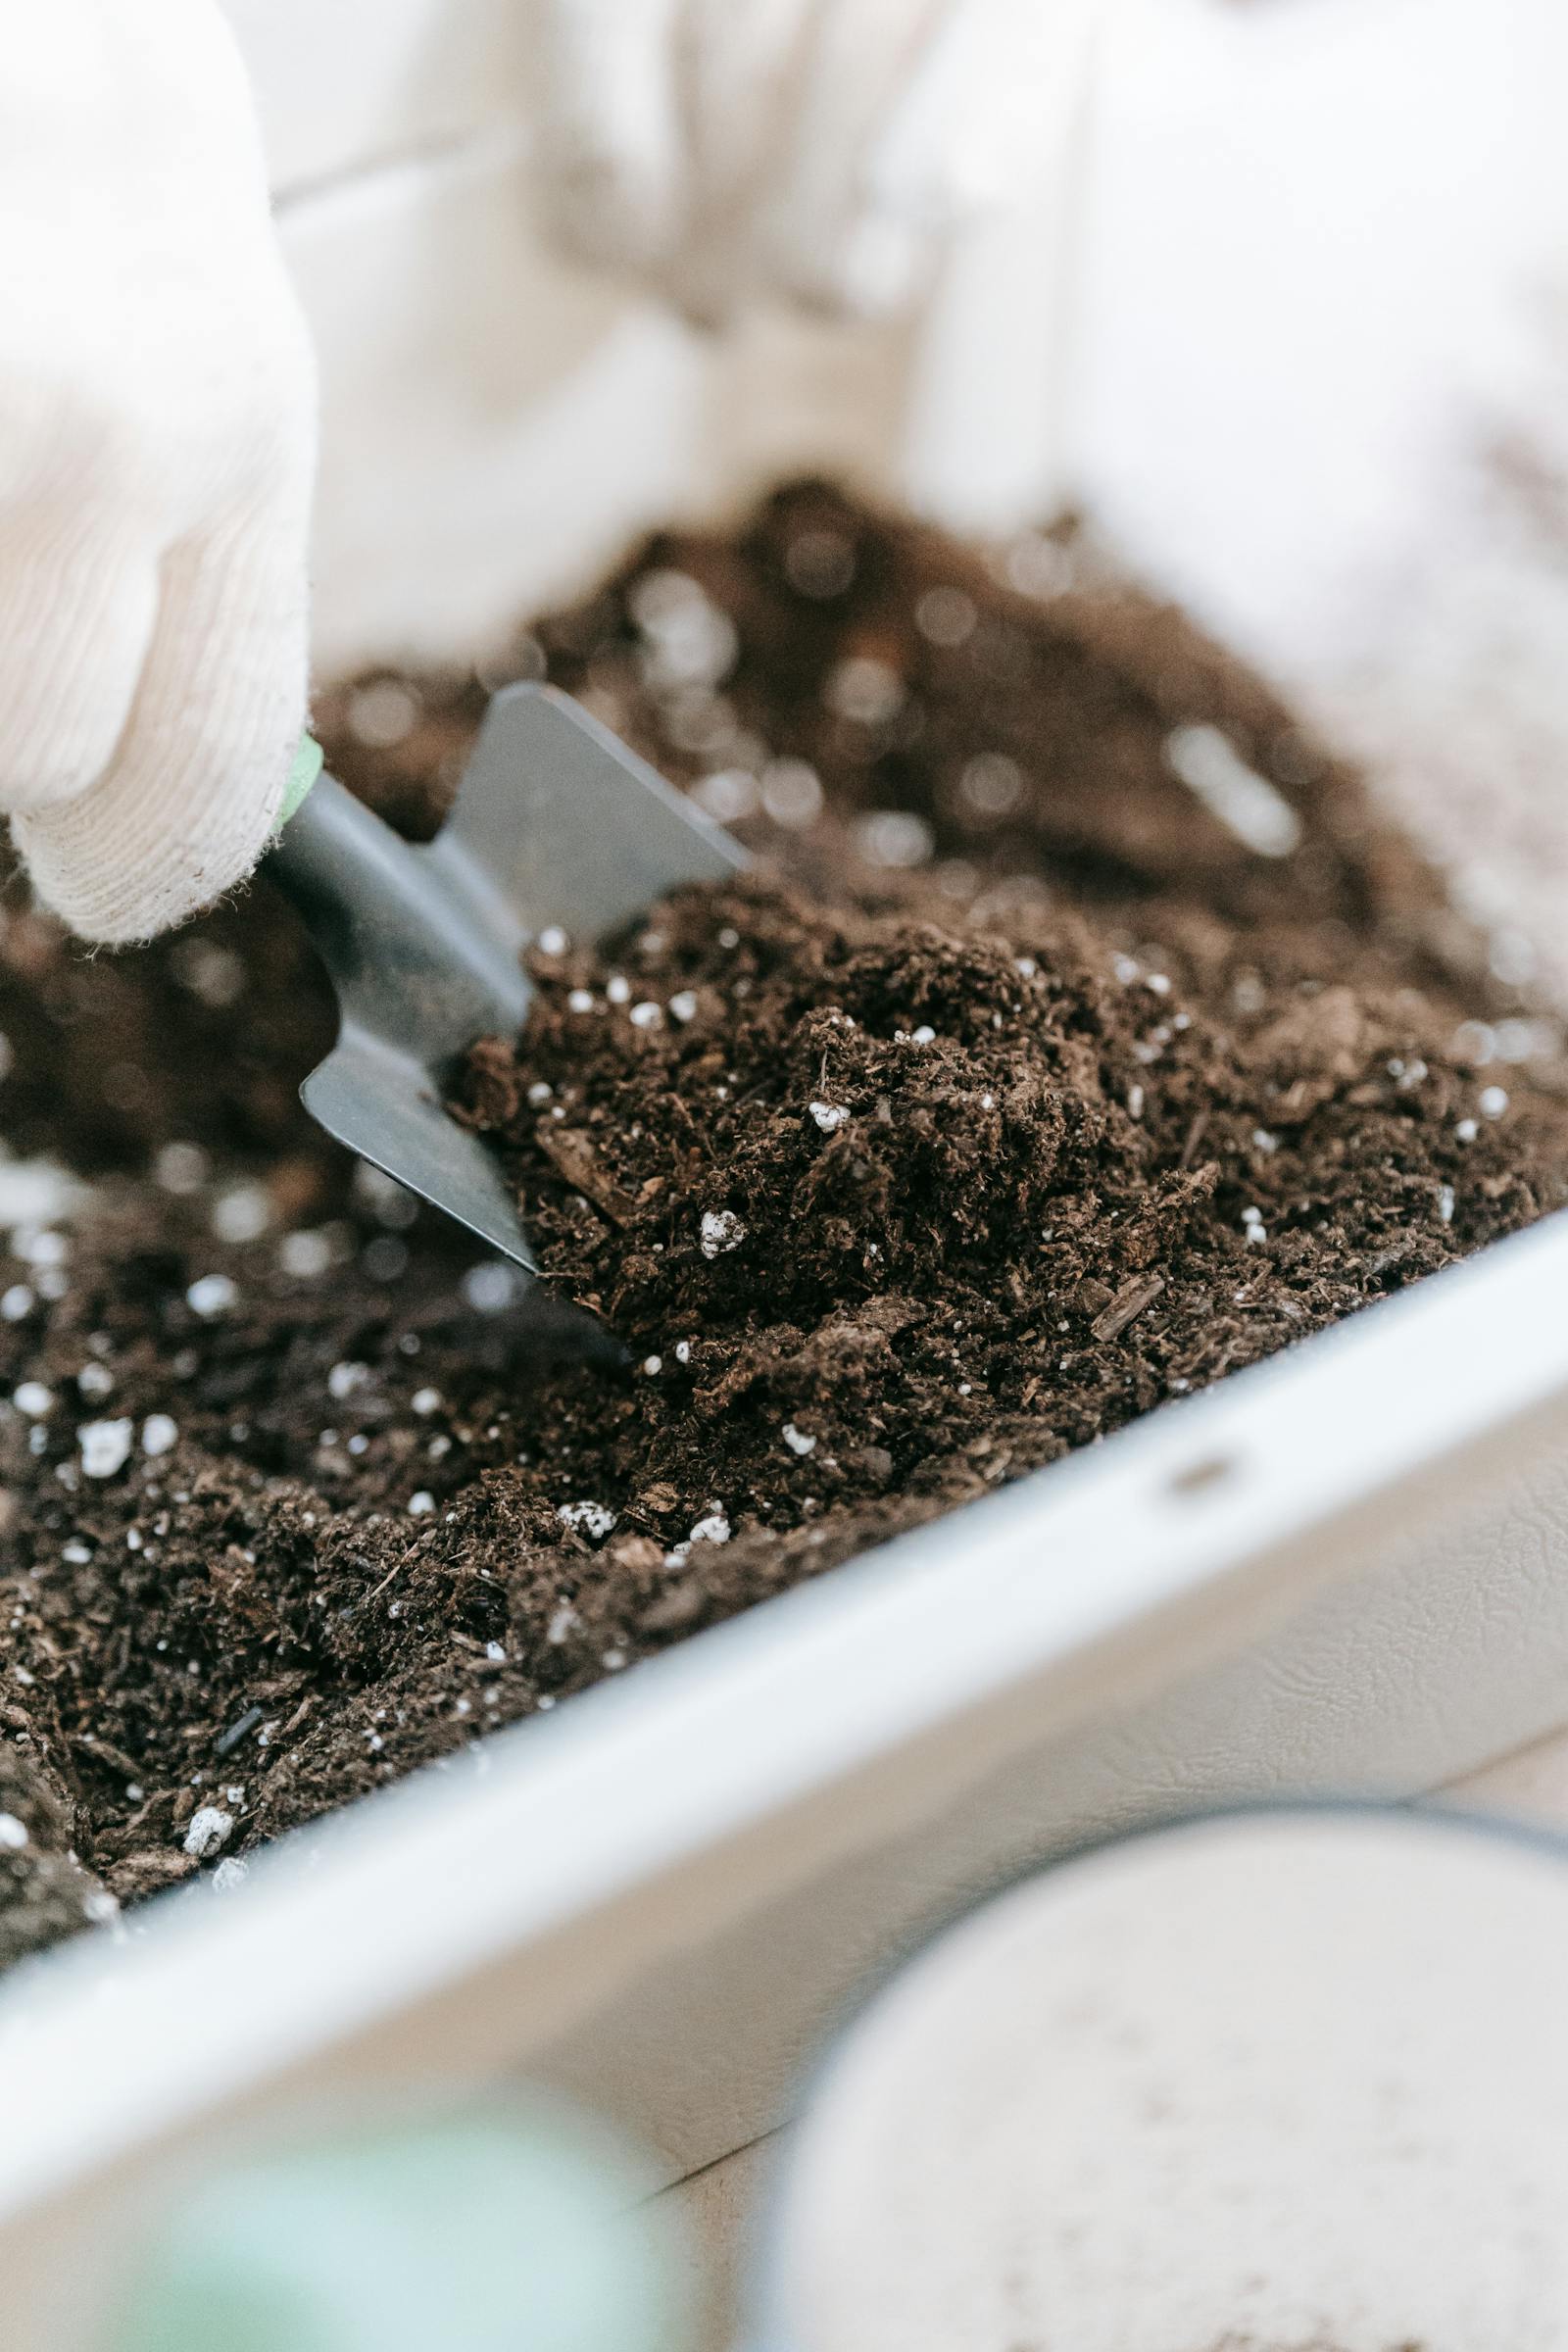
- Fresh potting mix. See potting soil vs garden soil.
- A trowel or large spoon.
- Newspaper or a tarp to work on (it gets messy).
- Optional: gloves, a watering can, clean scissors.
The step-by-step
1. Water the plant the day before
This is the small step that makes everything easier. Watering the day before makes the root ball easier to slide out of the pot, keeps it intact, and reduces shock during the move.
2. Prepare the new pot
Add a few inches of fresh potting mix to the bottom. Don’t add gravel or rocks at the bottom for “drainage” – this actually makes drainage worse (see our drainage hole guide for the explanation).
Cover the drainage hole(s) with a small piece of mesh, coffee filter, or single layer of newspaper – just enough to keep soil from washing out.
3. Remove the plant from its current pot
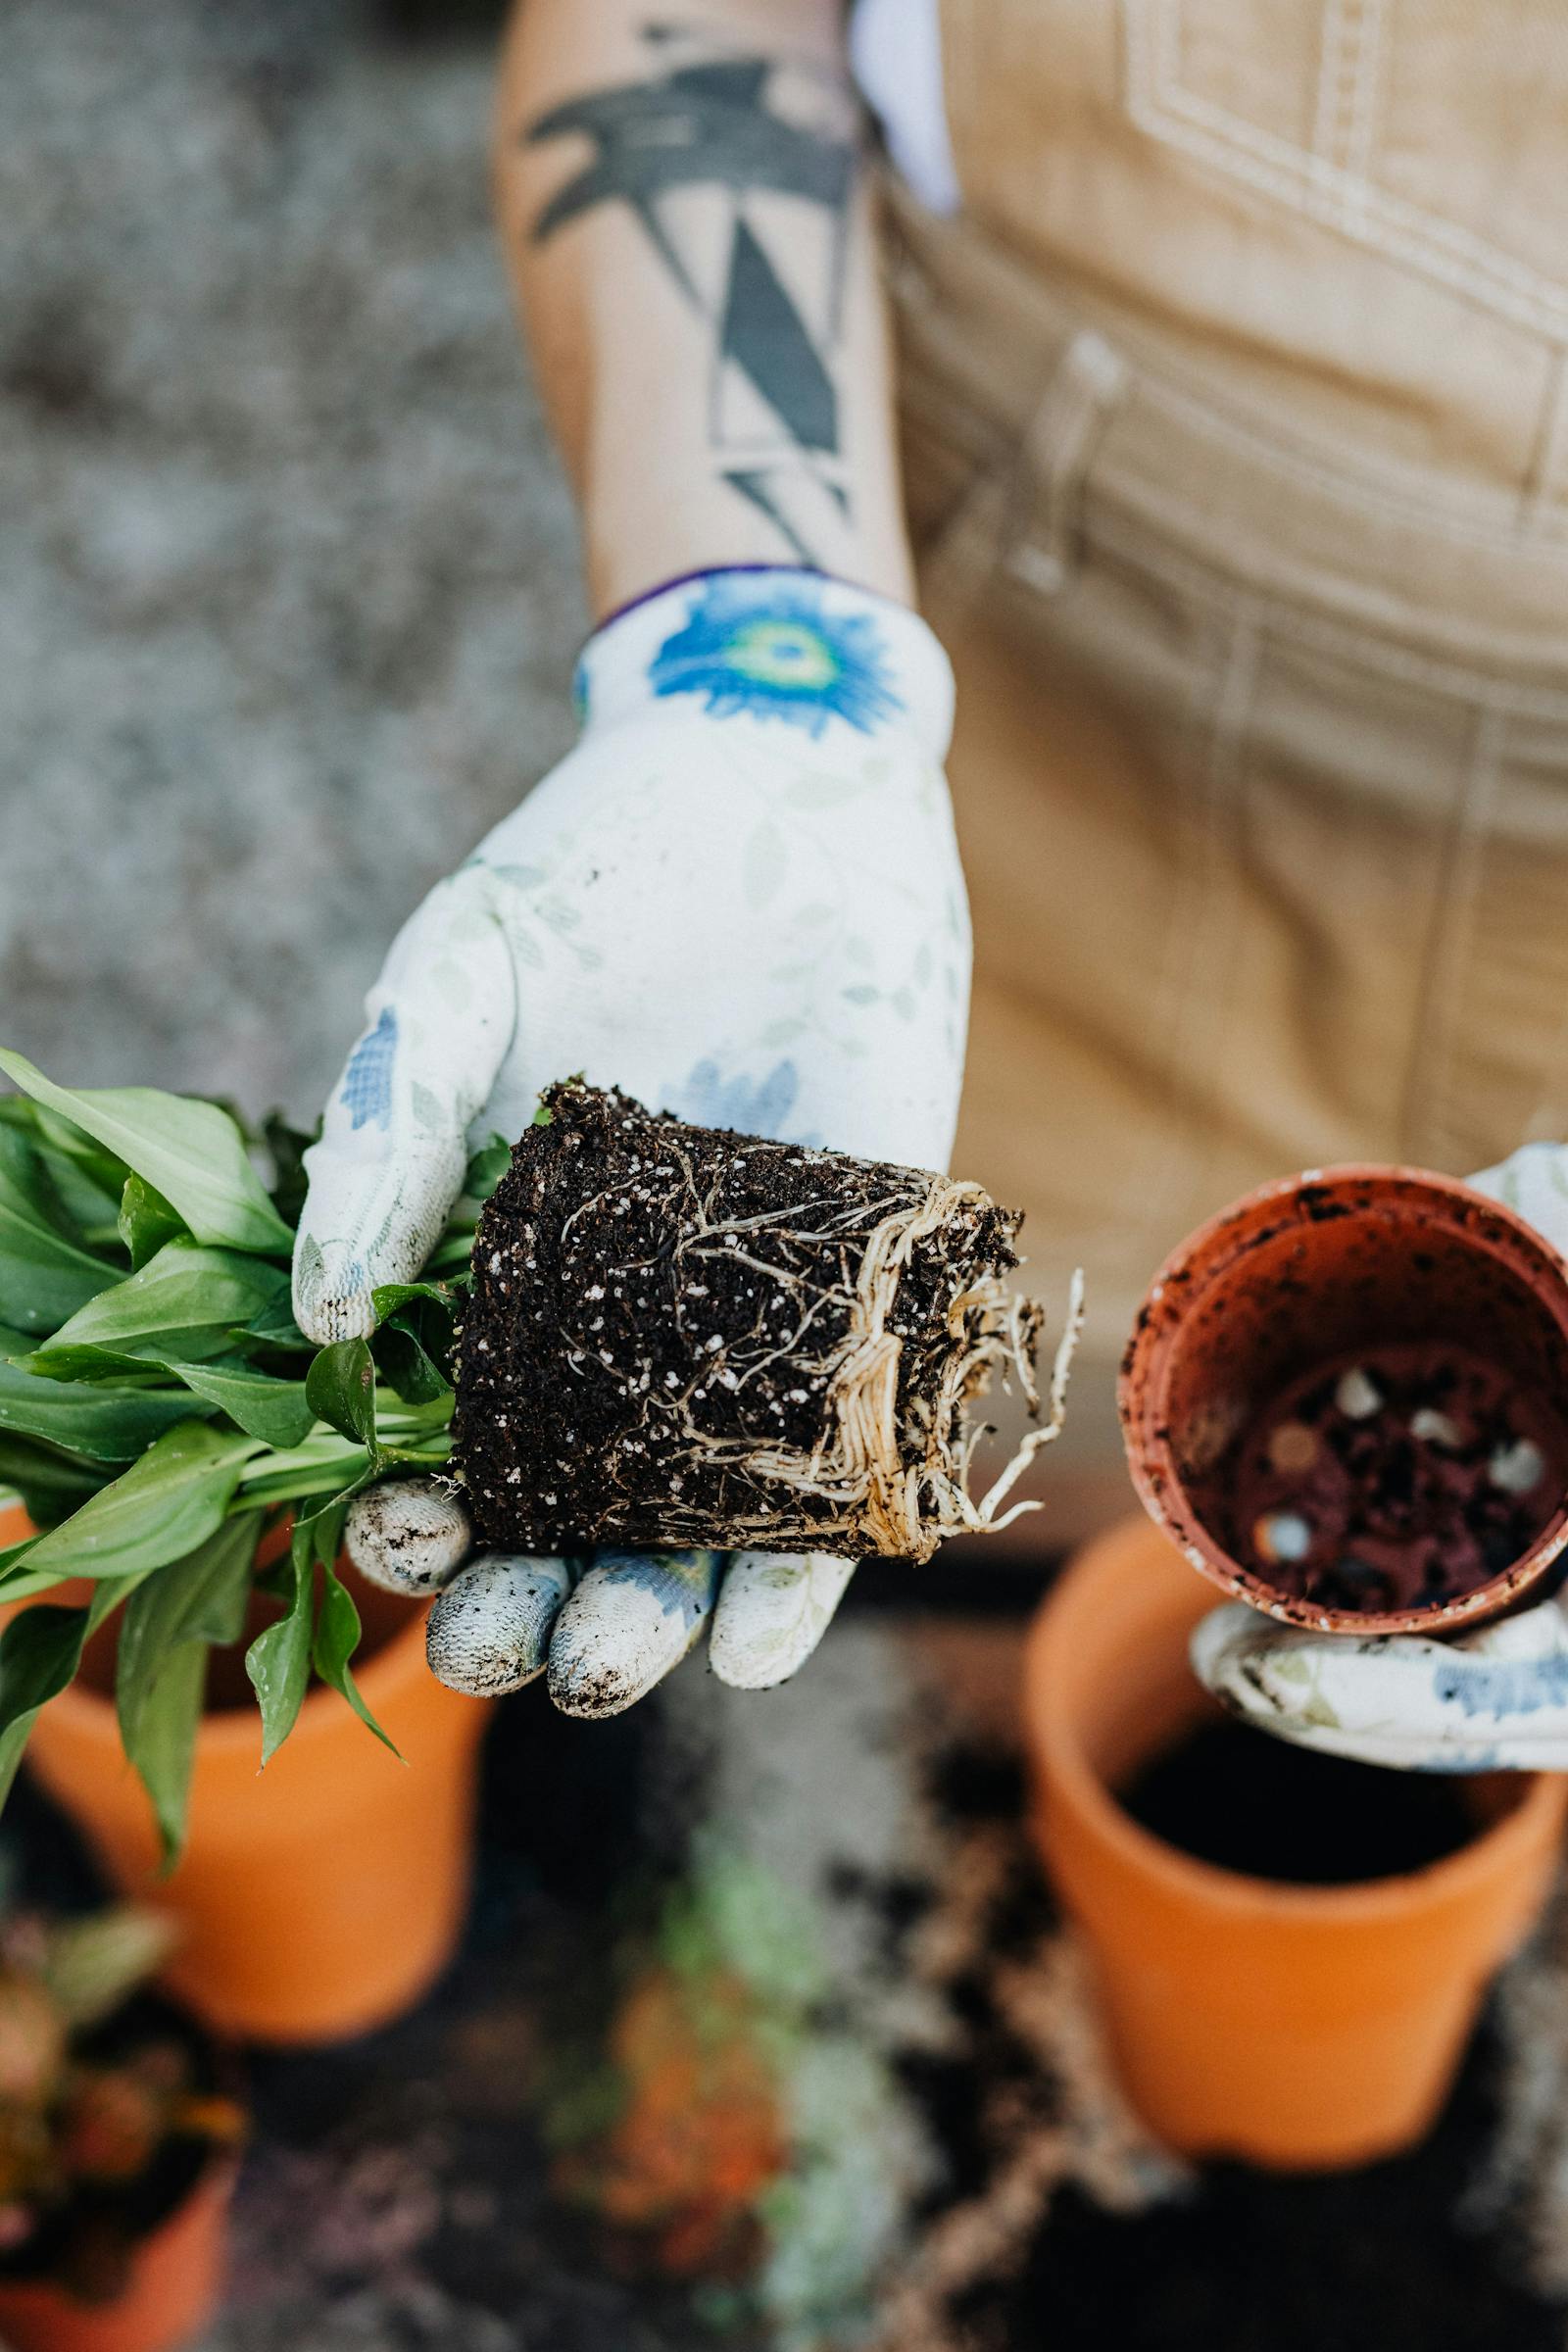
Tip the pot slightly sideways and squeeze the sides gently (for plastic pots) or tap the rim against a hard edge (for ceramic). Support the base of the plant with your hand. The root ball should slide out in one piece.
If it doesn’t come out:
- Try squeezing or tapping more firmly.
- Run a knife or thin trowel around the inside edge to loosen the soil from the pot.
- For stubborn cases with no drainage holes, soak the entire pot in a bucket of water for 30 minutes – sometimes the soil contracts away from the sides.
4. Inspect the roots
This is the diagnostic moment. Healthy roots are firm and white or pale tan. Look for:
- Heavily circling roots: root-bound. Loosen them gently with your fingers, separating circular roots so they can grow outward in the new pot.
- Black or mushy roots: root rot. Cut these off with clean scissors. Save only the healthy white roots.
- A tight dense mass with no obvious soil: very root-bound. Use a knife to score the sides of the root ball in a few places (a vertical slash about a half-inch deep) to encourage new outward growth.
If half or more of the roots are rotted, the plant may not survive. Save the healthy roots, plant in a much smaller pot than expected, and accept that recovery is uncertain.
5. Position the plant in the new pot
Set the plant on the layer of soil you added to the bottom. The top of the root ball should sit about an inch below the rim of the new pot – leaving room for soil on top and a watering reservoir of space.
If the plant sits too low, take it out and add more soil. If too high, scoop some out.
6. Fill in with fresh soil
Pack potting mix around the sides of the root ball, gently pressing it down with your fingers. Fill to within an inch of the rim. Don’t compress the soil hard – it should be firm but still loose enough that water can flow through.
7. Water in
Water thoroughly – until water runs out the bottom. This settles the soil and removes air pockets around the roots. You may need to add a little more soil after watering if it settles below the level you set.
8. Put the plant somewhere quiet
Place the repotted plant in a location with the same light as before (or slightly less, for the first couple of weeks). Avoid direct strong sun for a few days while it recovers.
Aftercare for the next two weeks
Most plants take 2-4 weeks to fully settle into a new pot. During that time:
- Water slightly less than usual – the larger soil volume holds more moisture, and the roots aren’t yet using it all.
- Keep the plant out of direct strong sun for the first week.
- Don’t fertilize for the first month.
- Expect some mild stress: a couple of yellow leaves or slightly slowed growth is normal.
- If the plant droops noticeably the day after repotting, it’s mild transplant shock – water it once and wait. It usually recovers in 2-3 days.
Repotting vs potting up vs root pruning
These three are sometimes confused.
| Term | What it means |
|---|---|
| Potting up | Moving to a slightly larger pot. Standard for growing plants. What this guide covers. |
| Repotting (refreshing) | Same pot, fresh soil. For mature plants you don’t want to enlarge. |
| Root pruning | Trimming the root ball before returning to the same or smaller pot. Bonsai technique; rarely used by beginners. |
For most beginners, “repotting” really means “potting up” – a small step up to give the roots more room.
Specific notes for different plants
- Succulents and cacti: let them sit unwatered for a week after repotting. Water sparingly to avoid rot in disturbed roots.
- Orchids: use orchid bark, not potting mix. Repot only when the bark has fully broken down or roots are escaping the pot.
- Snake plants: tolerate root disturbance well. Use a slightly gritty mix and a terracotta pot.
- Ferns: very sensitive to root disturbance. Be especially gentle. They often look stressed for 2-3 weeks.
- Vegetables in containers: usually started in larger pots from the beginning rather than potted up multiple times. Repotting tomatoes mid-season can shock them.
The bottom line
Repotting is a simple operation made anxious by the fact that we like our plants and don’t want to break them. The truth is most plants are tougher than we think. Water the day before, choose a slightly larger pot with drainage, slide the root ball out, inspect, and replant with fresh soil. Don’t overwater for a few weeks. Don’t fertilize for a month.
Almost every plant recovers fine. The few that don’t were already in serious trouble before you started. The first repot is the scariest; by the third, you’ll be wondering what you were worried about.
For other foundational container-growing topics, see our pot size guide and the drainage holes guide. And if you’re looking for low-maintenance plants that rarely need repotting at all, see the best low-light indoor plants.
See also: cleaning pots between plants.