Anúncios
Cleaning plant pots isn’t fun. It’s also one of those small habits that quietly prevents a lot of problems. White mineral crust transfers fungus to new plants. Old root debris invites pests. A 10-minute clean between plants saves you future headaches.
When to clean pots
- When repotting (always – even healthy pots benefit).
- After a plant has died, regardless of cause.
- When you see white mineral crust building up.
- Before storing for winter.
- When bringing pots out of long-term storage.
Basic cleaning (healthy pots)
For pots from healthy plants – no disease, no obvious issues:
Anúncios
- Remove all soil and root debris.
- Rinse with a strong stream of water.
- Scrub with a stiff brush and warm soapy water (dish soap is fine).
- Rinse thoroughly.
- Let dry completely before reuse or storage.
That’s it. No bleach or chemicals needed for pots that didn’t have sick plants.
Removing mineral and salt crust
The white crust that builds up on terracotta pots is mostly fertilizer salts and tap water minerals. Cosmetic but worth removing periodically.
Vinegar method
- Mix 1 part white vinegar with 3 parts water.
- Soak the pot for 1-2 hours.
- Scrub with a stiff brush.
- Rinse thoroughly and dry.
Baking soda paste
- Mix baking soda with water to form a paste.
- Apply to crusty areas.
- Scrub with a brush.
- Rinse.
Both methods are safe and harmless to future plants.
Anúncios
Sterilizing pots after disease
If a plant died from a known disease, root rot, or fungal infection, sterilize the pot before reuse.
- Clean the pot thoroughly (steps above).
- Mix 1 part household bleach with 9 parts water.
- Soak the pot for 10-15 minutes.
- Rinse thoroughly multiple times.
- Let dry completely (24+ hours).
This kills most common plant pathogens. Don’t skip the rinses – residual bleach harms new plants.
Different pot materials
| Material | Cleaning notes |
|---|---|
| Plastic | Easy to clean. Bleach-safe. Lasts indefinitely. |
| Terracotta (unglazed) | Porous – can hold pathogens. Sterilize thoroughly after sick plants or replace. |
| Glazed ceramic | Smooth surface, easy to clean. Bleach-safe but rinse very well. |
| Fabric grow bags | Machine wash on cold cycle. Air dry. |
| Wood | Wipe clean, don’t soak. Re-treat with food-safe oil annually if used. |
Storing clean pots
- Dry completely before storage.
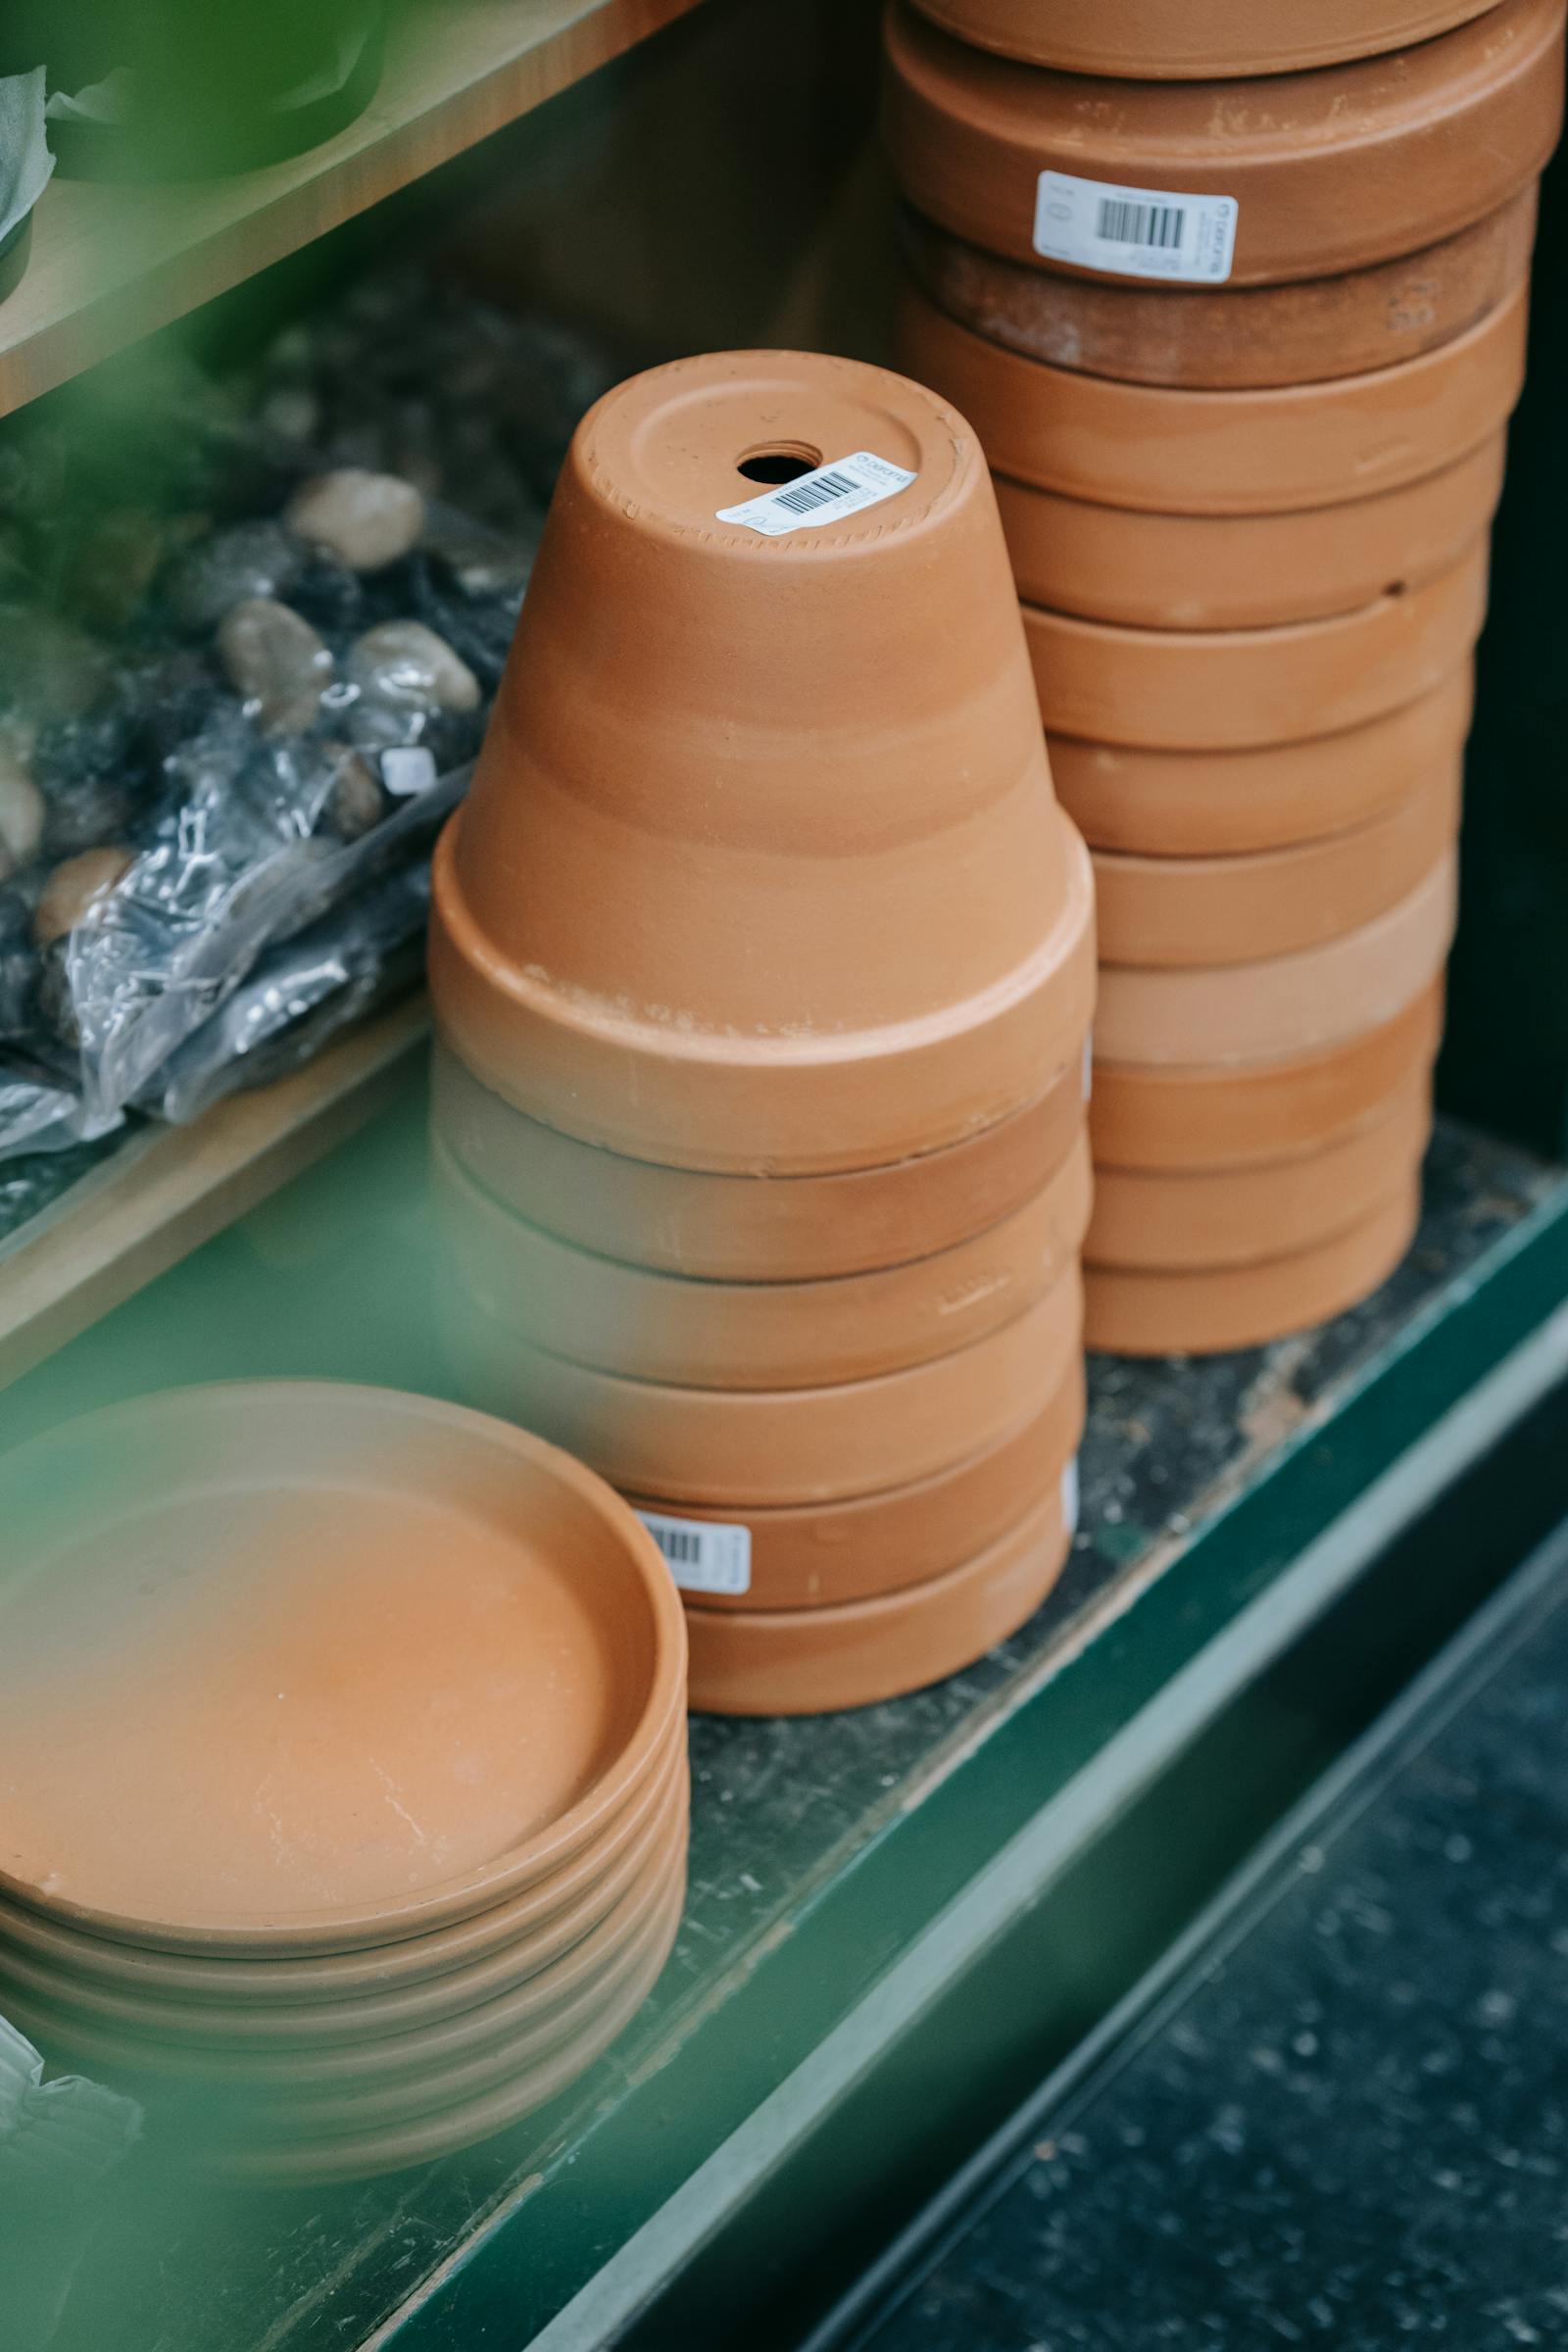
- Stack inside each other to save space.
- Store in a covered area (garage, shed, under stairs).
- Keep out of freezing temperatures for terracotta and ceramic.
- Label saucers with the matching pot if they’re different sizes.
The bleach question
Bleach divides gardeners. Some prefer hydrogen peroxide (3% solution, no dilution needed) as a less harsh alternative. It works similarly for sterilization with less harsh fumes.
Either way:
- Use only when needed (after sick plants).
- Rinse very thoroughly.
- Let dry fully before plant use.
Cleaning between annual seasons
At the end of summer for outdoor containers:
- Empty pots.
- Quick rinse if relatively clean.
- Air dry.
- Stack and store.
For pots that had diseased plants, sterilize before storage.
Saucer cleaning
Saucers collect a lot of mineral buildup over a season. Same vinegar soak removes it. Periodically replace saucers that get cracked or heavily stained.
The bottom line
Clean pots between plants. Use soap and water for most cleaning, vinegar for mineral crust, bleach only after disease. Dry completely before reuse or storage. The 10-minute habit prevents recurring problems.
For more on the rest of container basics, see how to repot a plant and plastic vs terracotta vs ceramic pots.
The seasonal pot care schedule
Cleaning pots doesn’t need to be a major project if you build it into your seasonal routine:
| Season | Pot care action |
|---|---|
| Spring | Clean stored pots before planting season; sterilize any pots from sick plants |
| Summer | Wipe down visible pots for appearance; replace cracked saucers |
| Fall | Empty annual containers, scrub, store; refresh perennial containers |
| Winter | Catch up on any unwashed pots; inventory for next season |
Spring is the busiest time. A weekend session of washing, sterilizing, and organizing pots sets up the entire growing season cleanly.
Dealing with stubborn mineral crust
The white crust on terracotta is mostly fertilizer salts and tap water minerals. It’s cosmetic but worth removing:
- Vinegar soak: 1 part white vinegar to 3 parts water in a basin. Soak the pot 1-2 hours. Scrub with a stiff brush. Rinse.
- Lemon juice: straight lemon juice rubbed onto crust spots dissolves them within minutes. Rinse afterward.
- Baking soda paste: mix baking soda with a small amount of water to form a paste. Apply to crust, let sit 15-30 minutes, scrub, rinse.
- Wire brush: for very stubborn crust on terracotta, a brass wire brush removes it physically. Avoid on glazed surfaces (scratches the glaze).
Removing algae and mold
Green algae on the outside of terracotta pots in damp climates is common but ugly:
- Scrub with hot soapy water and a stiff brush.
- For persistent algae, follow with a 1:10 bleach-water solution wipe; rinse thoroughly.
- For glazed pots, plain soapy water usually does the job.
- Move pots into more sun to prevent algae recurring.
Storing clean pots properly
Once clean, store pots to avoid creating new problems:
- Dry completely before storage (12-24 hours).
- Stack pots inside each other to save space.
- Put a small piece of paper or fabric between stacked pots to prevent them sticking from any residual moisture.
- Store in a covered space (garage, shed, basement).
- Keep ceramic and terracotta pots out of freezing temperatures – they crack with freeze-thaw cycles.
- Label saucers with the matching pot if they’re different sizes.
When to retire a pot
Some pots aren’t worth saving:
- Cracked terracotta (the crack will spread; structurally unsound).
- Pots with persistent disease history that didn’t respond to sterilization.
- Severely chipped or damaged decorative pots.
- Plastic pots that have become brittle from UV exposure (they shatter when handled).
Recycle broken terracotta as drainage material elsewhere in the garden, or break into “crocking” pieces for the bottom of larger pots if you must. Most municipal recycling accepts plastic plant pots.