Anúncios
For decades, the standard gardening advice was to add a layer of gravel, pebbles, broken pottery, or styrofoam peanuts at the bottom of pots “for drainage.” Modern horticultural research has shown this actually impairs drainage rather than improving it. Here’s what to do instead.
Why the gravel layer doesn’t work
The logic feels intuitive: gravel at the bottom = water drains through faster. But that’s not how water moves in soil.
Anúncios
Water in soil is held by capillary action – tiny pores grip water against gravity. Water only moves from a fine material (soil) to a coarse one (gravel) when the fine material above is fully saturated.
The result: a “perched water table” forms in the soil just above the gravel layer. That soil stays wetter than it would in a plain pot. The plant’s roots in the lower section sit in saturated soil – the exact opposite of what you wanted.
This is well-documented in container gardening research. The gravel-at-bottom advice is folklore, not science.
Anúncios
What to actually do
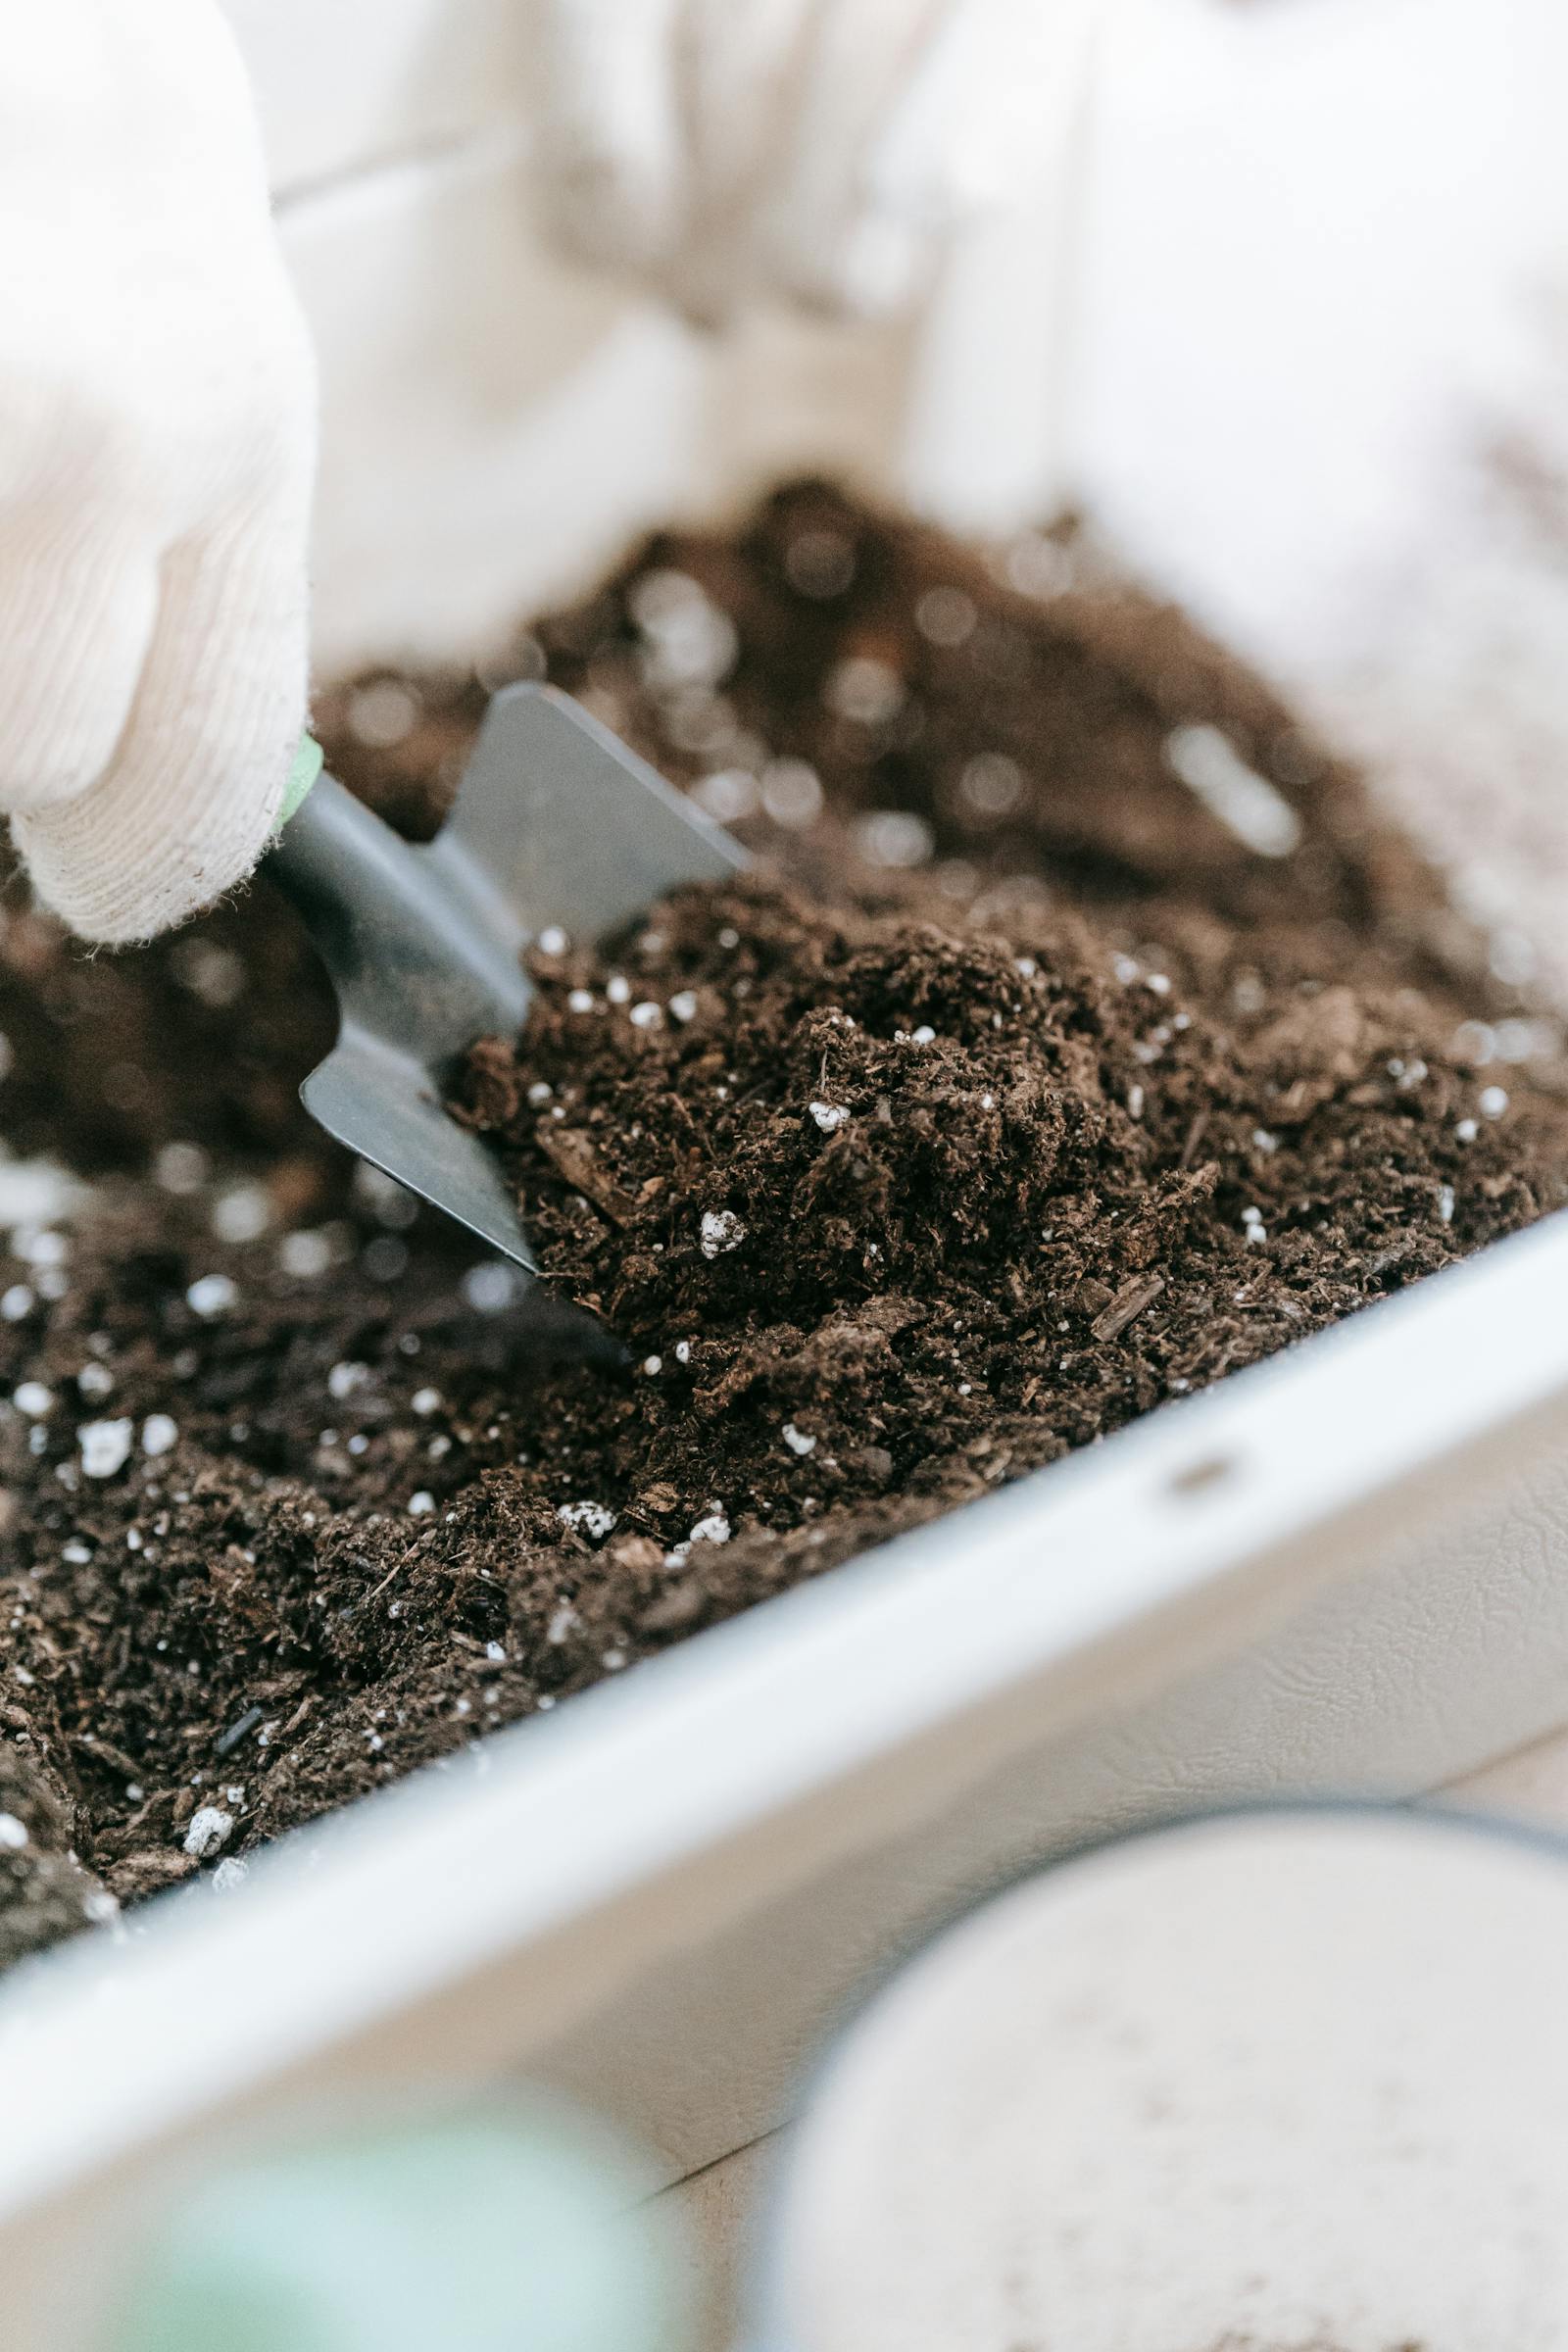
The simple answer: fill the pot with potting mix from top to bottom. No special layer at the bottom.
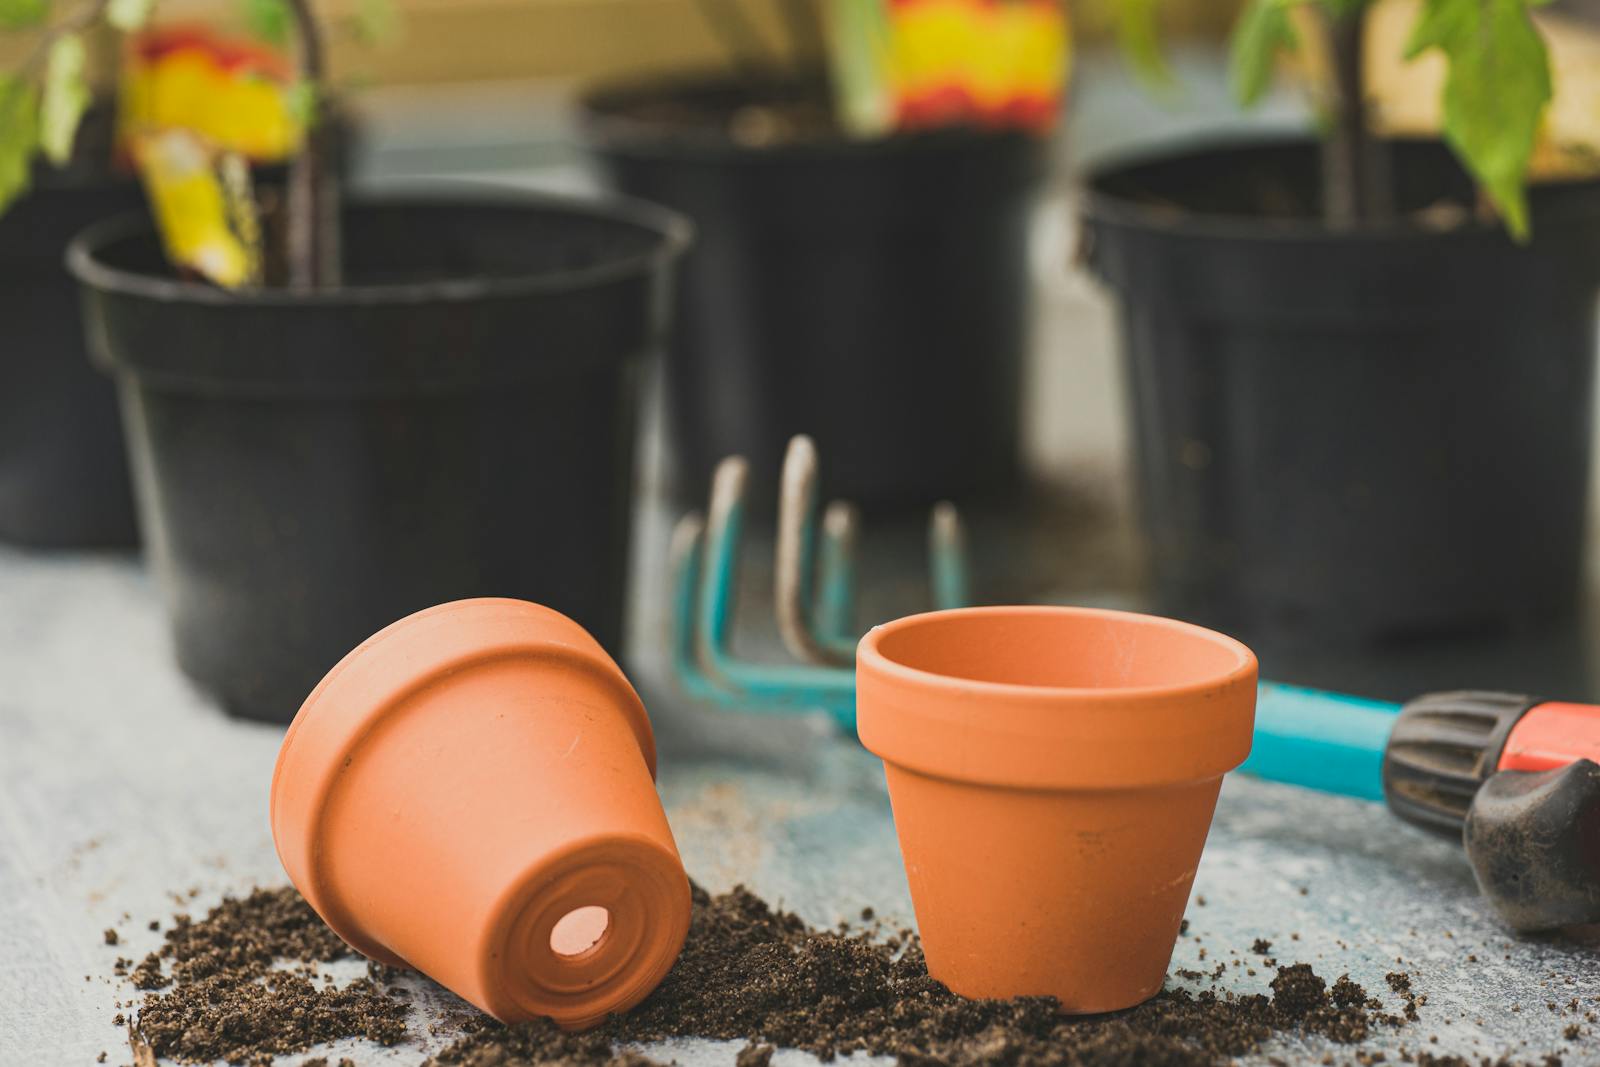
One small addition is useful: cover the drainage hole(s) with a small barrier to keep soil from washing out:
- A piece of mesh or window screen.
- A coffee filter.
- A single layer of newspaper.
- A piece of cloth or weed barrier fabric.
This lets water through while retaining soil. That’s it – no drainage materials needed.
What about really big pots?
For very large pots (16+ inches) where you don’t want to fill the entire volume with potting mix (it gets expensive and heavy), you can use a “false bottom”:
- Inverted plastic pots or empty milk jugs at the bottom (1/3 of the pot).
- Wood chips or bark mulch (decomposes, so replenish each year).
- Empty plastic water bottles (caps on, prevents collapse).
The remaining 2/3 of the pot gets potting mix. The plant’s roots only spread into the soil portion – rarely reaching down to the false bottom.
This works because the false bottom material is large enough that it doesn’t create a capillary trap – water moves through easily.
What if the pot doesn’t have drainage holes?
The honest answer is: get a pot with drainage holes. Nothing you put at the bottom solves the no-drainage problem.
If you can’t drill new holes and won’t switch pots, the only workable approach is:
- Plant in a smaller plastic pot with drainage.
- Place the small pot inside the decorative no-drainage pot.
- Lift out the inner pot to water; let it drain in the sink.
- Return to the outer pot once it stops dripping.
See why pots need drainage holes for the full explanation.
Why this matters
Gravel at the bottom of pots doesn’t just fail to help – it actively contributes to root rot by keeping the lower soil too wet. If you’ve been losing plants to mysterious wilting and root issues, the gravel layer at the bottom is one common culprit.
Repotting without the gravel layer is a small fix that solves a problem you didn’t know you had.
What about charcoal at the bottom?
Activated charcoal is sometimes added to pots (especially terrariums) to absorb impurities and odors. For typical houseplants in regular pots with drainage, it’s unnecessary. For sealed terrariums, a 1-inch layer can help control bacterial buildup.
Special cases
- Cactus and succulent pots: use cactus-specific fast-draining mix throughout. Don’t add gravel layer – same logic.
- Orchid pots: use orchid bark, not soil. The bark itself is the planting medium – no separate drainage layer needed.
- Self-watering pots: have a built-in reservoir at the bottom. Follow the manufacturer’s instructions – usually a wick or platform separates the soil from the water.
- Hydroponic / semi-hydroponic setups: use clay balls or LECA as the medium. Different system entirely.
The bottom line
Don’t put gravel, pebbles, or “drainage material” at the bottom of pots. It makes drainage worse, not better. Use a pot with proper drainage holes, cover the holes with mesh or a coffee filter to retain soil, and fill the rest with potting mix top to bottom. For more on pot setup, see how to repot a plant and pot size guide.
The science behind why gravel fails
The classic gardening advice of putting gravel at the bottom of a pot for drainage feels intuitive but contradicts how water actually moves in soil. Here’s what happens:
Water in soil is held by capillary action – tiny pores in the soil grip water against gravity. Water only flows from a fine material (soil) into a coarse material (gravel) when the fine material above is fully saturated. The result is a “perched water table” – a layer of saturated soil sitting just above the gravel where roots can’t access oxygen.
This effect has been documented in horticultural research repeatedly since the 1980s. The folklore persists because it sounds logical, but the physics work against it.
What modern professionals do instead
Commercial nurseries and greenhouse operations use:
- Pots filled with quality potting mix top to bottom – no drainage layer.
- Multiple small drainage holes rather than one large one.
- A piece of mesh or coffee filter over the holes to retain soil.
- Bench drainage that lifts pots slightly off any flat surface.
The science is the same for your home pots as for industrial nurseries.
The “false bottom” for very large pots
For pots 16+ inches across, filling the entire pot with potting mix is expensive and creates a heavy lifting problem. The workaround:
- Fill the bottom third of the pot with large, bulky material – inverted plastic pots, empty water bottles with caps on, or large bark chunks.
- Fill the remaining two-thirds with potting mix where roots actually grow.
This works because the bulky material is large enough that capillary action doesn’t create a water trap – water moves through it freely. The plant’s roots stay in the soil portion only.
The drainage hole alternatives
For pots without drainage holes (decorative no-hole pots), no amount of gravel or charcoal at the bottom solves the problem. Real options:
- Drill drainage holes: with a diamond-tipped bit for ceramic, or a regular bit for plastic. Affordable, permanent fix.
- Use as a cover pot: plant in a smaller plastic pot with drainage holes, slip it inside the decorative no-hole pot. Lift to water, drain in sink, replace.
- Accept slow plant death: a no-drainage pot can support certain plants briefly but usually fails within months. Not a real solution.
For the full picture, see do pots need drainage holes.
What about charcoal?
Activated charcoal is sometimes added to terrarium and sealed planter setups to absorb impurities and odors. For typical houseplants in regular pots with drainage, it’s unnecessary. The drainage holes provide what charcoal claims to.
For sealed terrariums where water can’t escape, a thin layer of activated charcoal does have a measurable effect on water quality and odor control. Different use case entirely.