Anúncios
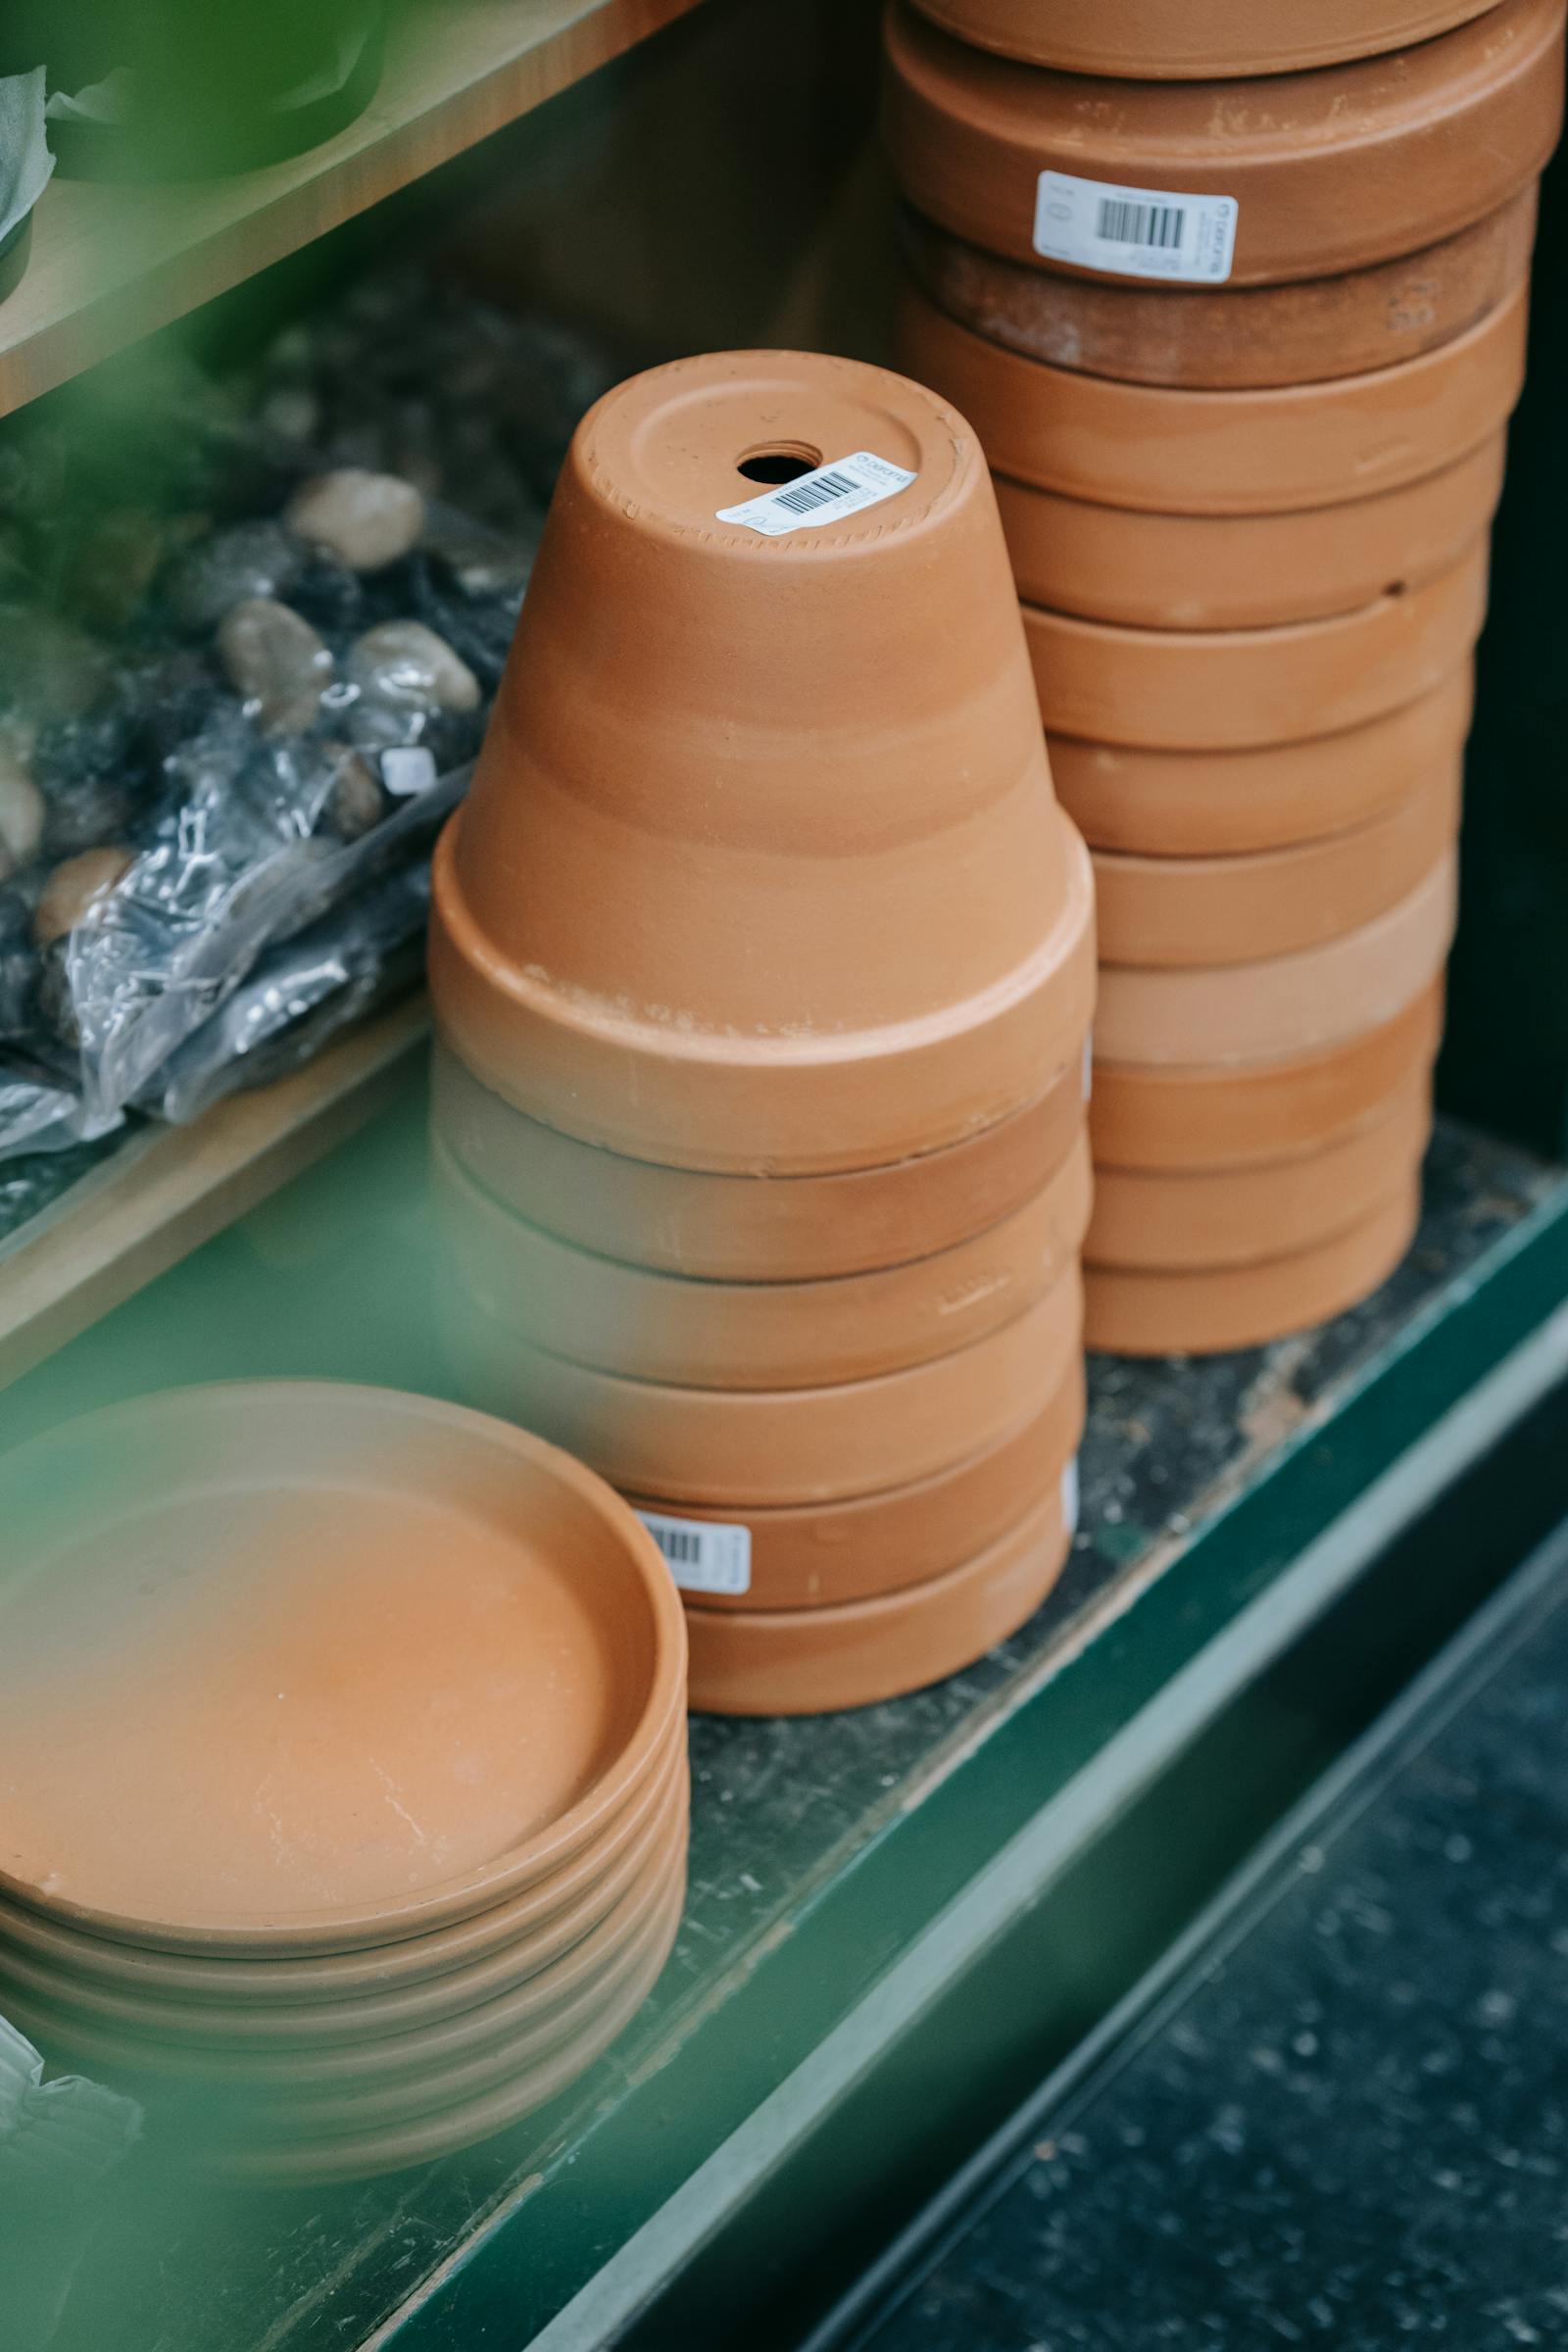
It’s the most ignored detail in beginner plant ownership. Someone buys a beautiful pot – heavy glazed ceramic, ribbed terracotta, hand-thrown stoneware – bring it home, plant the plant, water it weekly, and a month later wonder why everything is dying. The pot has no drainage hole. The roots are sitting in a soggy soup of stagnant water at the bottom.
Drainage matters. It matters more than the type of soil, more than the brand of fertilizer, often more than the specific plant. Here’s why – and what to do about decorative pots without holes (because, let’s be honest, the cute pots almost never have them).
Anúncios
What happens in a pot without drainage
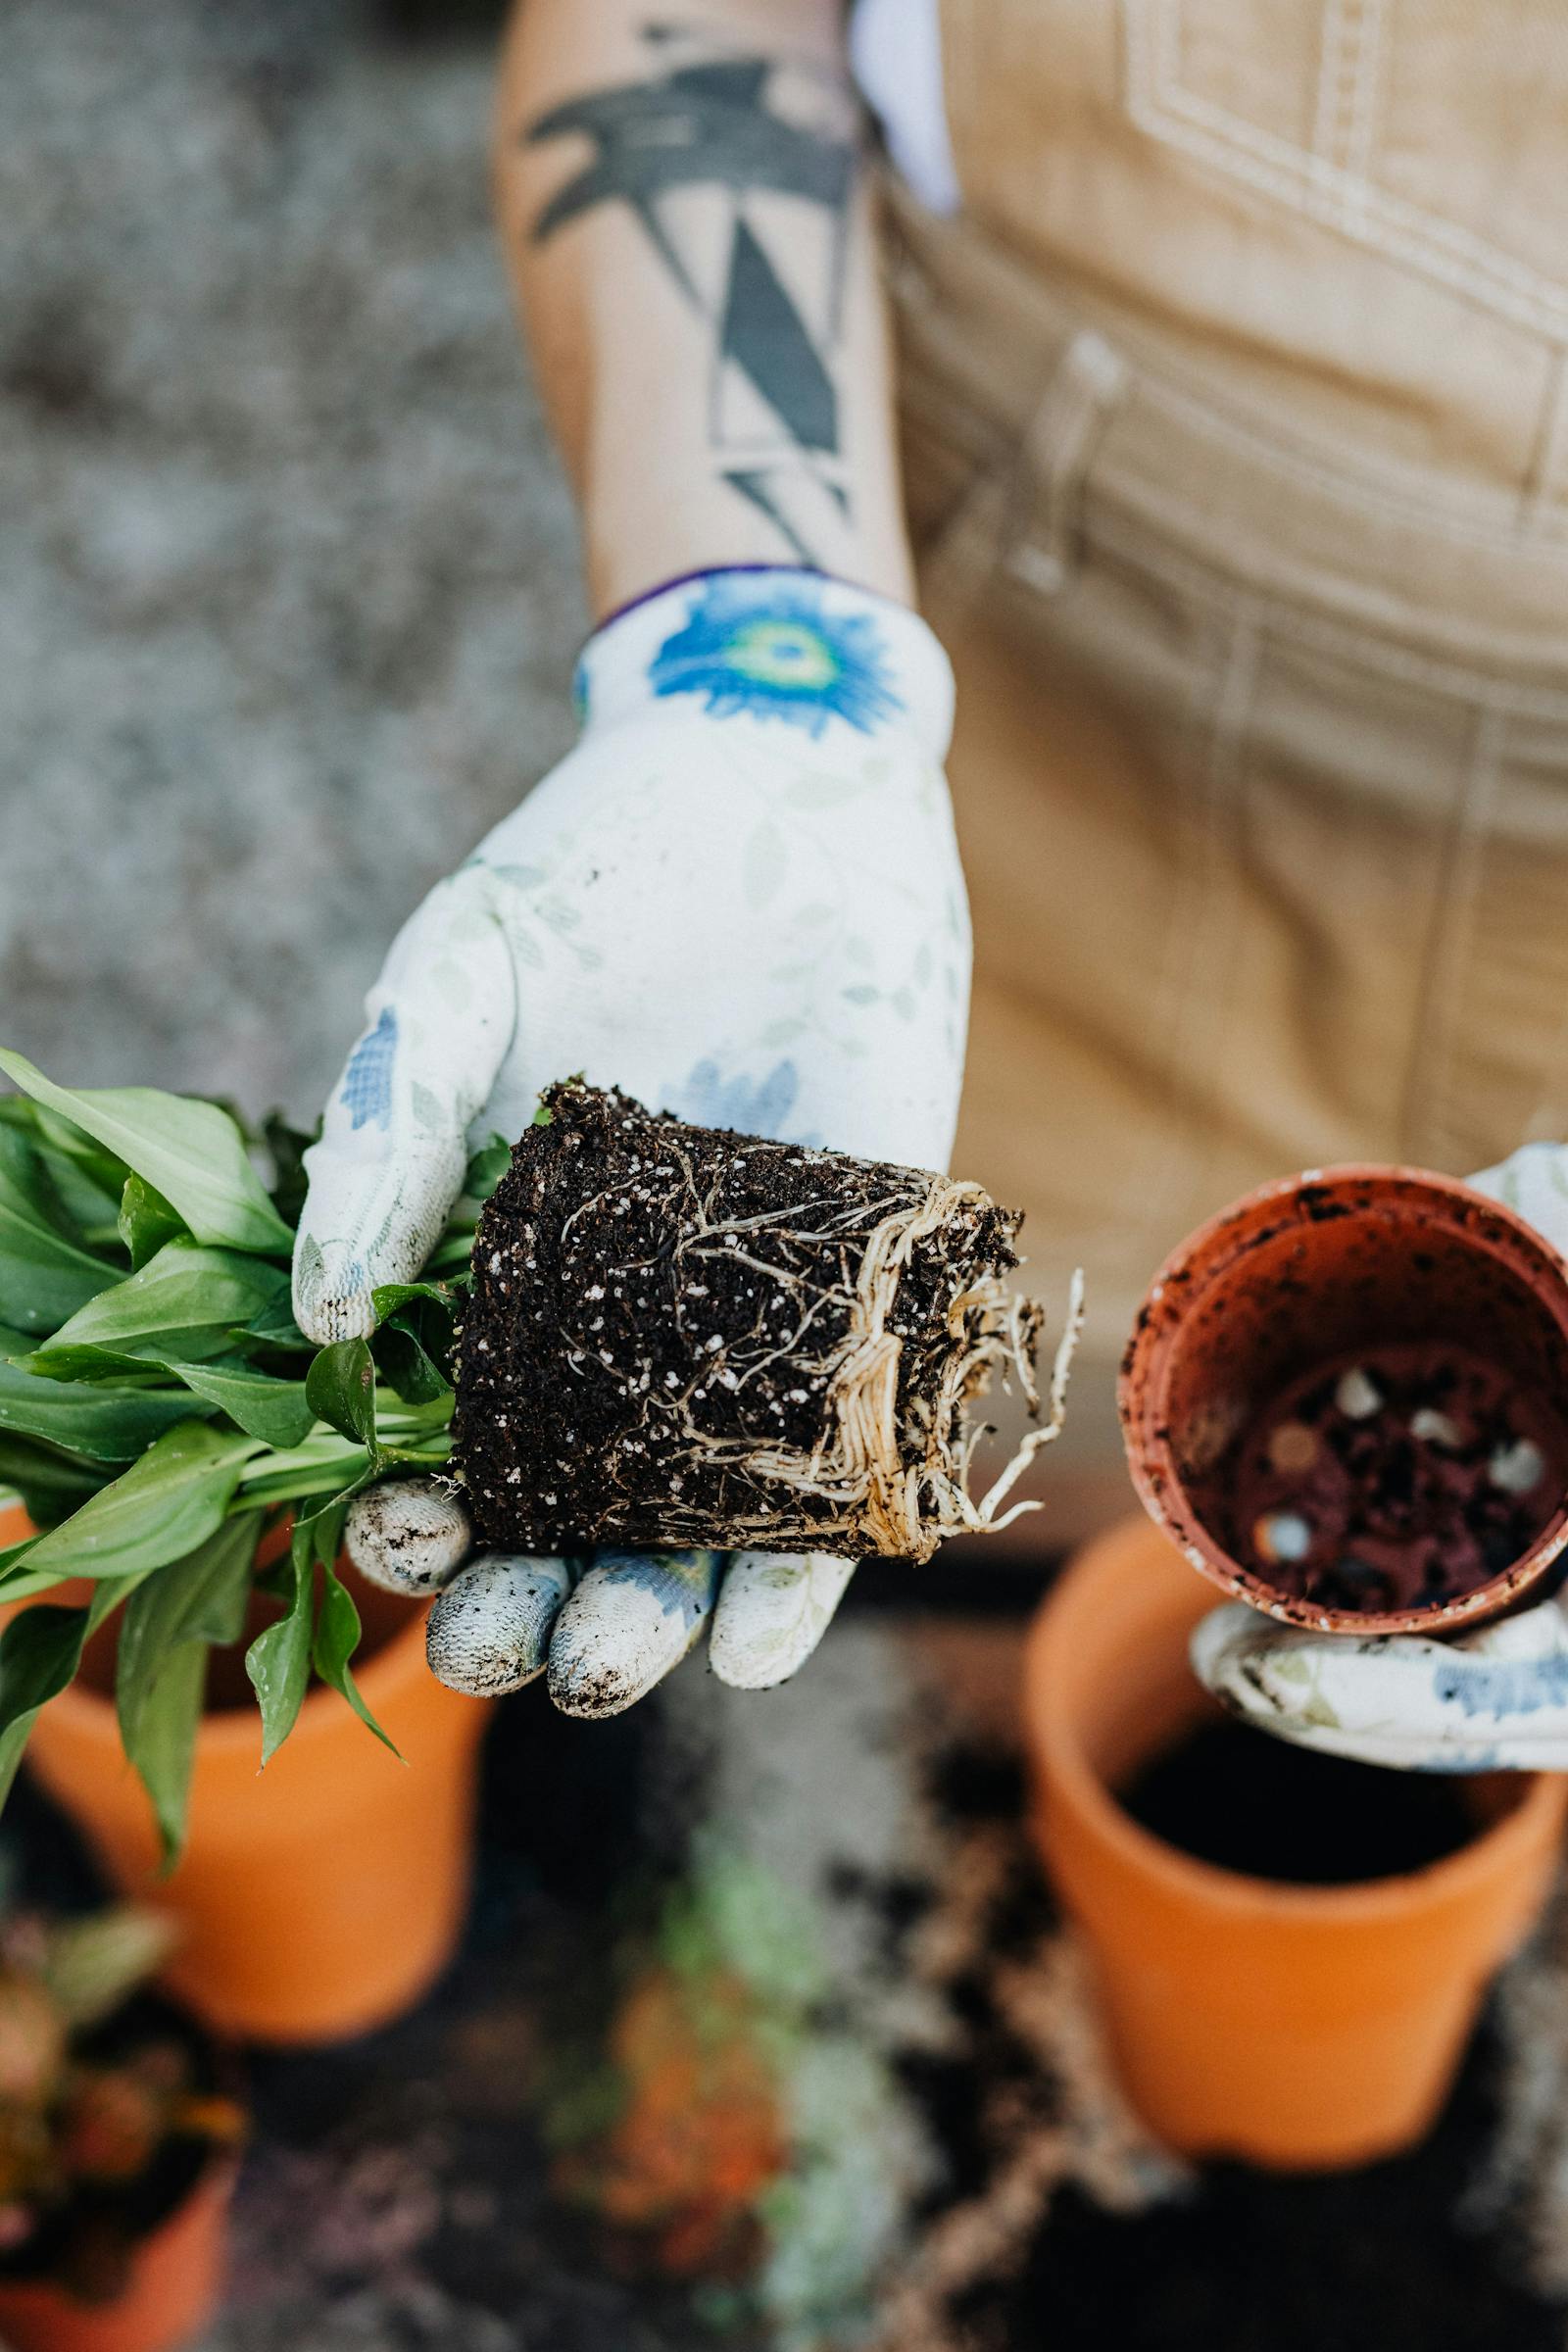
When you water a plant, you’re trying to soak the entire root ball – not just the top. In a pot with drainage, excess water passes through and out the bottom. The roots get a deep drink. Air refills the gaps between soil particles. Roots breathe (yes, roots need oxygen).
In a pot without drainage, the water has nowhere to go. It collects at the bottom of the pot. The lowest few inches of soil become saturated and stay that way for days. Roots in that zone are surrounded by water, can’t access oxygen, and begin to rot.
Root rot moves fast. Symptoms appear above ground – yellowing leaves, soft stems, wilting that doesn’t improve with watering – but by the time you see them, much of the root system is already dying.
Anúncios
What drainage actually does
A few related things:
- Lets excess water escape. The obvious one. Water in excess of what soil can hold drains out.
- Allows oxygen into the soil. As water drains, air is pulled into the gaps it leaves behind. Roots need this oxygen.
- Prevents salt buildup. Tap water and fertilizer leave mineral salts in the soil. Drainage flushes these out over time. Without drainage, they accumulate and burn the roots.
- Signals that you’ve watered enough. When water runs out the drainage holes, you know the entire root ball is saturated.
The myth of “gravel at the bottom”
For decades, a common workaround for pots without drainage (or even pots with drainage) was to put a layer of gravel, broken pottery shards, or styrofoam peanuts at the bottom “for drainage.”
This doesn’t work. In fact, modern horticultural research has shown it makes things worse.
Here’s why: water in soil doesn’t simply fall through the gravel layer below. Gravity pulls it down, but capillary action in the soil holds it in place against gravity. Water only moves from soil into the gravel layer once the soil above is fully saturated. Result: you’ve created a “perched water table” where the soil right above the gravel stays wetter than it would without the gravel – exactly the opposite of what you wanted.
The right approach: a pot full of potting mix, top to bottom, with proper drainage holes in the actual pot.
Three ways to deal with no-drainage pots
So what if you’ve fallen for a stunning ceramic pot that has no hole? You have three options.
Option 1: Drill drainage holes yourself
For ceramic, terracotta, or stoneware pots, you can usually drill drainage holes with the right bit. You’ll need:
- A power drill (corded or cordless).
- A diamond-coated or carbide masonry drill bit, sized 1/4 to 1/2 inch.
- Painter’s tape.
- Water (to keep the bit cool while drilling).
The technique:
- Mark the spot where you want the hole with a marker.
- Stick a piece of painter’s tape over the mark – this stops the bit from skidding.
- Set the pot upside-down on a soft surface (folded towel) on a stable workbench or floor.
- Run the drill on a low speed and apply gentle pressure. Let the bit do the work.
- Drip water onto the area periodically to keep the bit and pot cool.
- Slow down as you near the other side to avoid cracking the pot.
Works well for terracotta and most stoneware. Glazed ceramic can crack more easily – work slowly. Glass pots, fibreglass, and concrete planters are best drilled by a professional or skipped.
Option 2: Use it as a cover pot
The simplest and most reliable approach. Plant your plant in a regular plastic pot with drainage holes, sized to fit inside the decorative pot. When you water, lift the inner pot out, let it drain in a sink, and pop it back into the cover pot when it’s done dripping.
Why this works:
- The plant gets all the drainage benefits of a proper pot.
- The decorative pot stays clean and beautiful.
- You can easily swap plants in and out as they mature or seasons change.
- No risk of cracking the decorative pot by drilling it.
Cover pots are how high-end retail plant displays work. There’s a reason.
Option 3 (last resort): Plant directly, water very carefully
If you absolutely must plant directly into a no-drainage pot, you can – but it requires significant care:
- Use only succulents, cacti, or other plants that want very dry conditions.
- Add a deep layer of activated charcoal at the bottom (helps absorb any standing water).
- Water with a small amount only – barely moistening the soil.
- Use a moisture meter to make sure the lower soil isn’t sitting wet.
This is still less reliable than the other two options. Use only when nothing else will do.
How many drainage holes does a pot need?
One reasonably sized hole is enough for a small pot. Larger pots (10+ inches) benefit from multiple smaller holes for faster drainage. Some pots come with several small holes around the rim of the base – these work fine, just make sure they’re not blocked by the saucer or surface below.
Should I cover the drainage hole with anything?
A small piece of mesh, a coffee filter, or a single layer of newspaper across the hole keeps soil from washing out without blocking water flow. Don’t use anything that creates a barrier – no plastic bags, no foil, no plates. The point is to retain soil while letting water through.
The saucer trap
A drainage hole only helps if water can actually escape. If your pot sits on a saucer (which catches dripping water to protect your floor), make sure to empty the saucer after watering. A pot sitting in standing water in a saucer has effectively no drainage.
The simple rule: 15-30 minutes after watering, tip the saucer into the sink. Done.
What about self-watering pots?
Self-watering pots are a separate system. They have a reservoir at the bottom and a wick or perforated platform that brings water up to the soil only as the plant uses it. The plant’s roots never sit directly in water; the reservoir is below them.
For the right plants (most leafy greens, many herbs, vegetables, leafy houseplants), self-watering pots are excellent and a kind of cheat code against beginner overwatering. For plants that want to dry out fully between waterings (succulents, snake plants, cacti), self-watering pots are a poor fit.
The bottom line
Drainage holes are not optional. They’re the single most important feature of any pot. A beautiful pot without one is a beautiful display vessel, not a plant home. Drill it, use it as a cover pot, or save it for a faux plant – but don’t plant your real plant directly into it.
If you’re working out what to fill that proper-drainage pot with, see our guide to potting soil vs garden soil. And if you’re trying to figure out the right pot size for your specific plant, the pot size guide covers the rest.
See also: what to actually put in the bottom of a pot.